Seesaw - How Parents and Students Submit Work in Seesaw
This chapter has instructions for how to add student work samples into Seesaw. These can be added by a parent or a student.
If a student is adding work samples, it would be best for a parent to review what to add and help supervise this until a student understands what to share with their support teacher.
Getting Started
- open your Seesaw Journal in the Seesaw Class App or by accessing app.seesaw.me
- If you have logged in once before, your family class should open without needing to login again
- In most classes, your class will be named with your last name
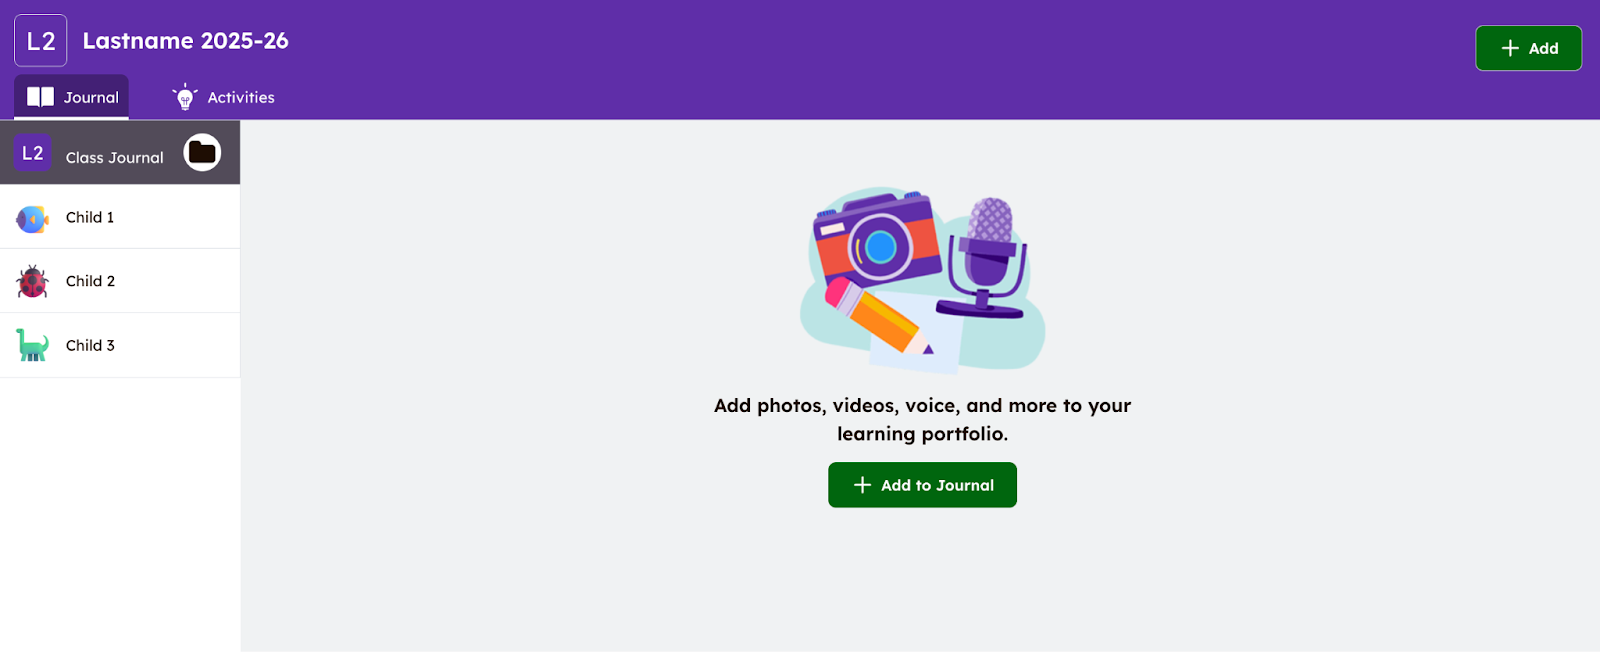
- You will see your children listed down the left hand side under Class Journal
- The 'Class Journal' will show all work loaded into Seesaw with the most recent submissions at the top
If you click on 'Child 1', you will see all submissions posted for Child 1 listed from newest to oldest. This will include any posts that were 'tagged' with other children in the family.
the Journal page looks like this:
How to Add Work Samples
Step 1
- Click the green '+Add' button

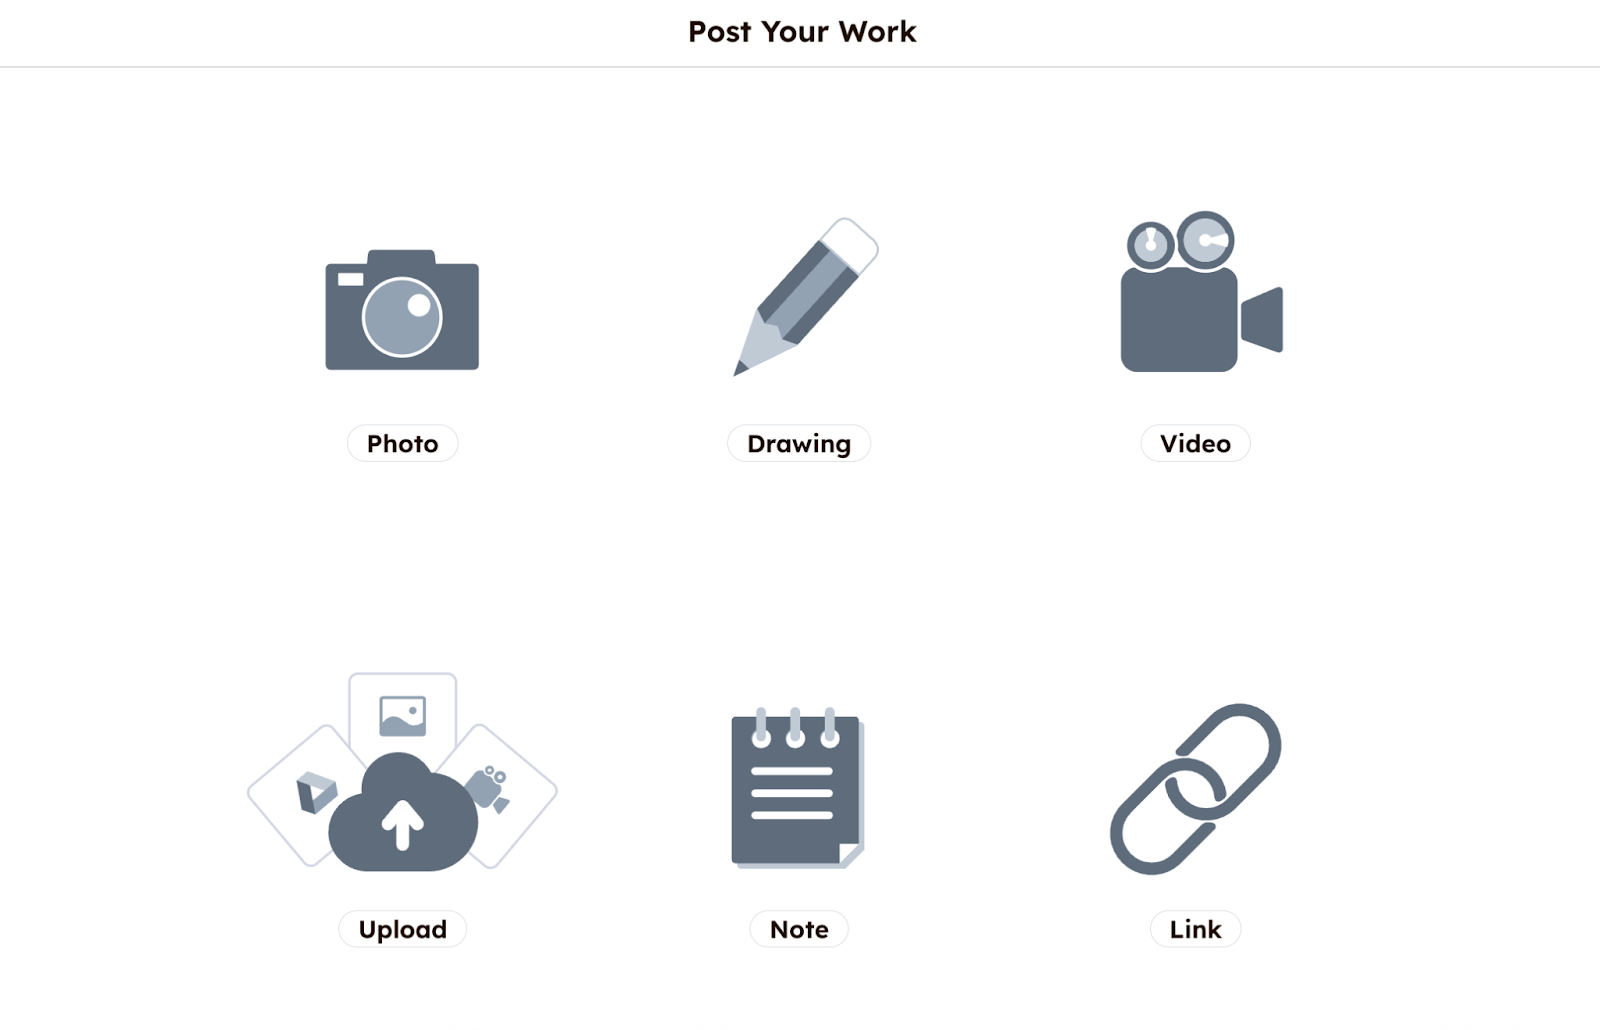
Step 2
- Choose the Creative Tool to post work
-
Select a creative tool that best fits the work to be uploaded
-
You can take a photo of your work, upload a photo of your work from your camera or computer, add a video, add a link, or create your own work on a blank canvas or note page
- Follow the prompts for the Creative Tool you are using to upload the samples
Most parents will use the 'upload' feature to upload photos from their phone camera roll or their computer, or Google drive.
Students may use the photo or video option through the Seesaw App to use the built-in camera or video tool provided in the Seesaw Class App to submit work samples to the teacher.
Step 3
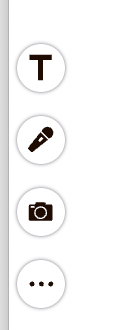
- You can edit the post by adding voice recordings, drawings, text labels, or captions by clicking the icons to the left
-
You can also click the
 button at the bottom left side of the page to record a voice message or upload an audio file to accompany the work sample
Step 4
-
Tap the Green 'check mark' at the top right to complete your post
Step 5
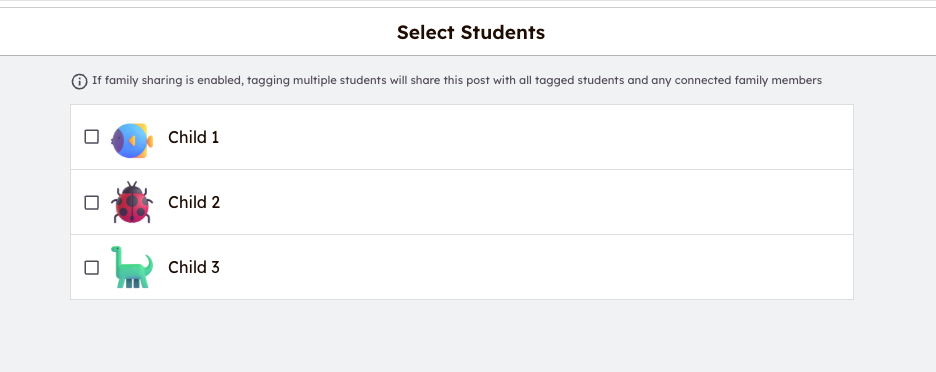
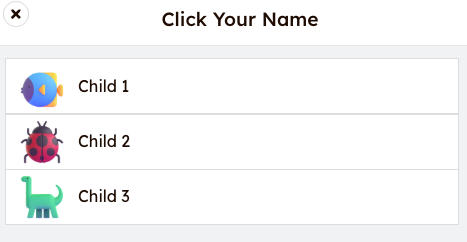
- Tag or select the students who completed the work
- You are able to select one student or multiple students for each sample added
Step 6
- Click the green check mark again
- The work sample will show up in the Class Journal and can be found within each child’s journal
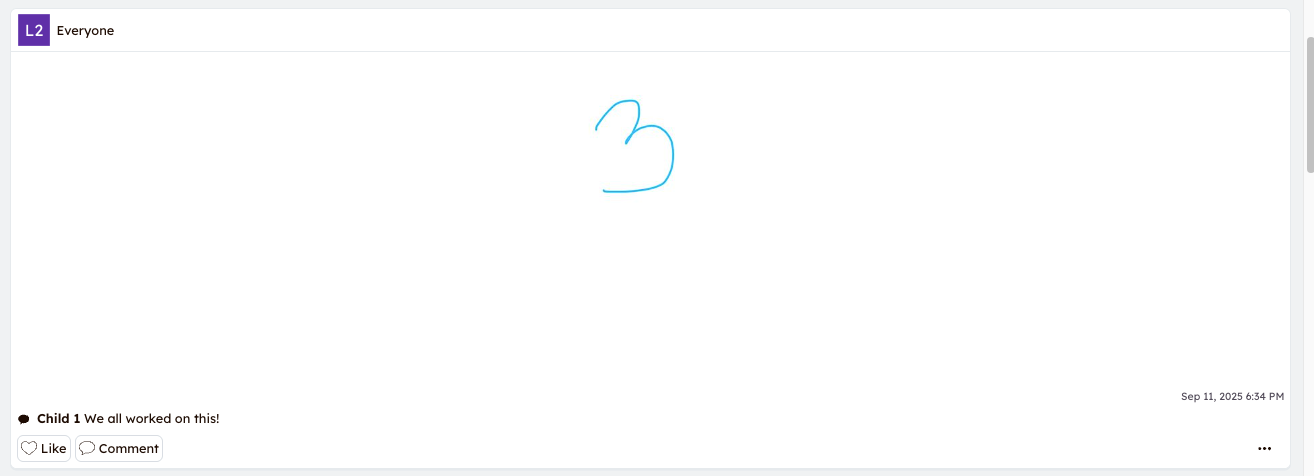
- See below, the work sample was selected for all of the children in this family as can be seen with the tag 'Everyone'
Step 7
- If you would like to add a further comment, click the 'Comment' box under the posted work sample
- Click on the student’s name
- Enter the Comment
If multiple children worked on a sample and the comment applies to all of them, feel free to enter the extra comment under one child’s name and indicate the comment applies to all of them.
- If you wish to add something unique to another child, you can add another comment and select that particular child.
- Write a comment.
- You may also add a voice comment by clicking the microphone
- You will now see the sample uploaded to the 'Class Journal' and attached to each individual child's journal as well
Additional Support
How to use Multipage to post up to 20 pages