
Seesaw - How Parents and Students Submit Work in Seesaw
This chapter provides instructions for parents or students for sharing student work samples on Seesaw.
If a student is adding work samples, it would be best for a parent to review what to add and help supervise this until the student understands what to share with their support teacher.
Getting Started
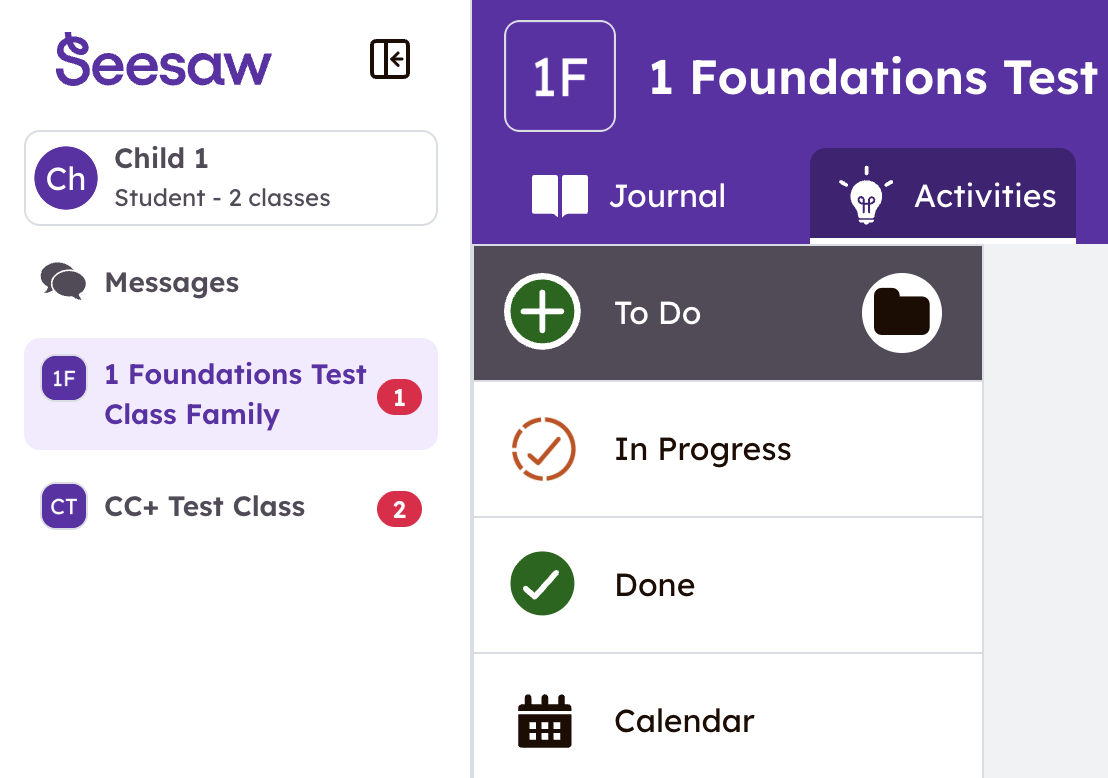
- Open your Seesaw Journal in the Seesaw Class App or by accessing app.seesaw.me. If you have logged in before, your family class should open without needing to log in again.
Step One:
|
The app will open to the activity tab for the last class you were logged into.
|
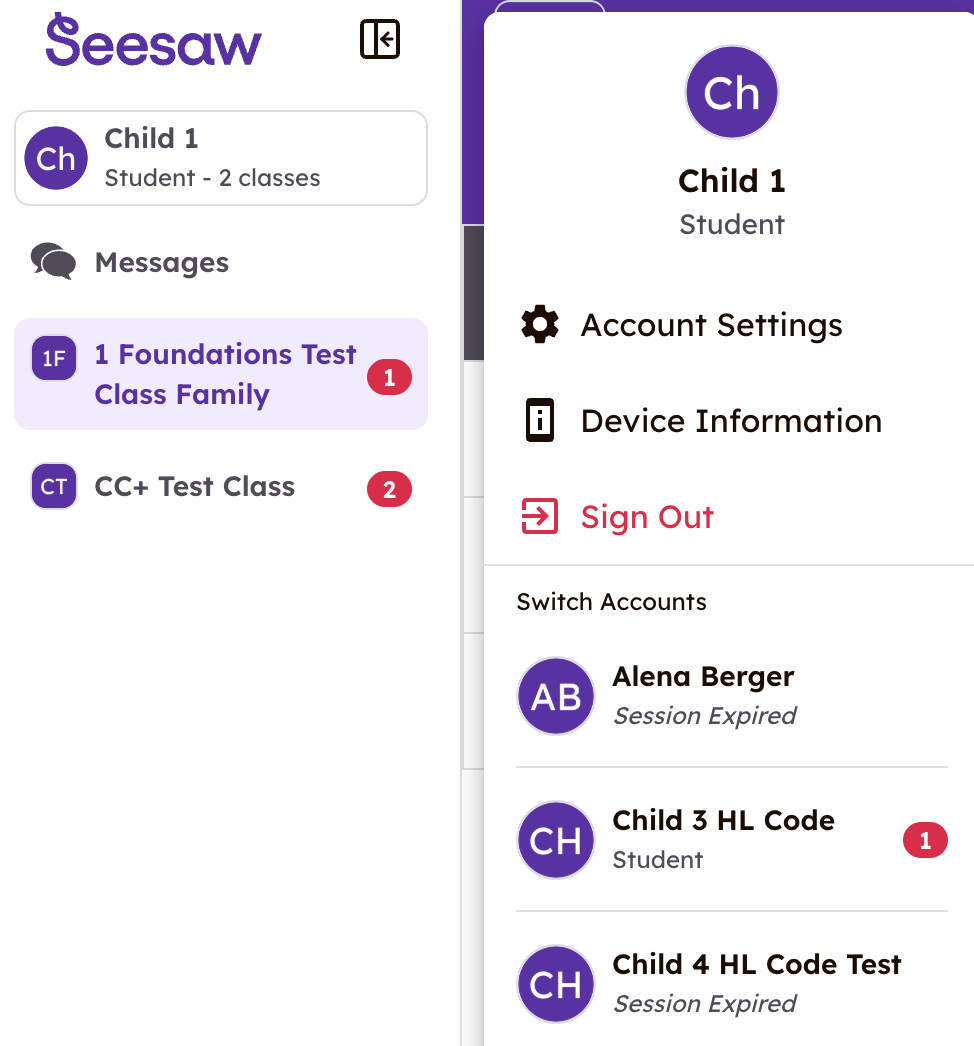
Click the student name again to see the other children in your family. |
|
|
|

Step Two:
|
|
|
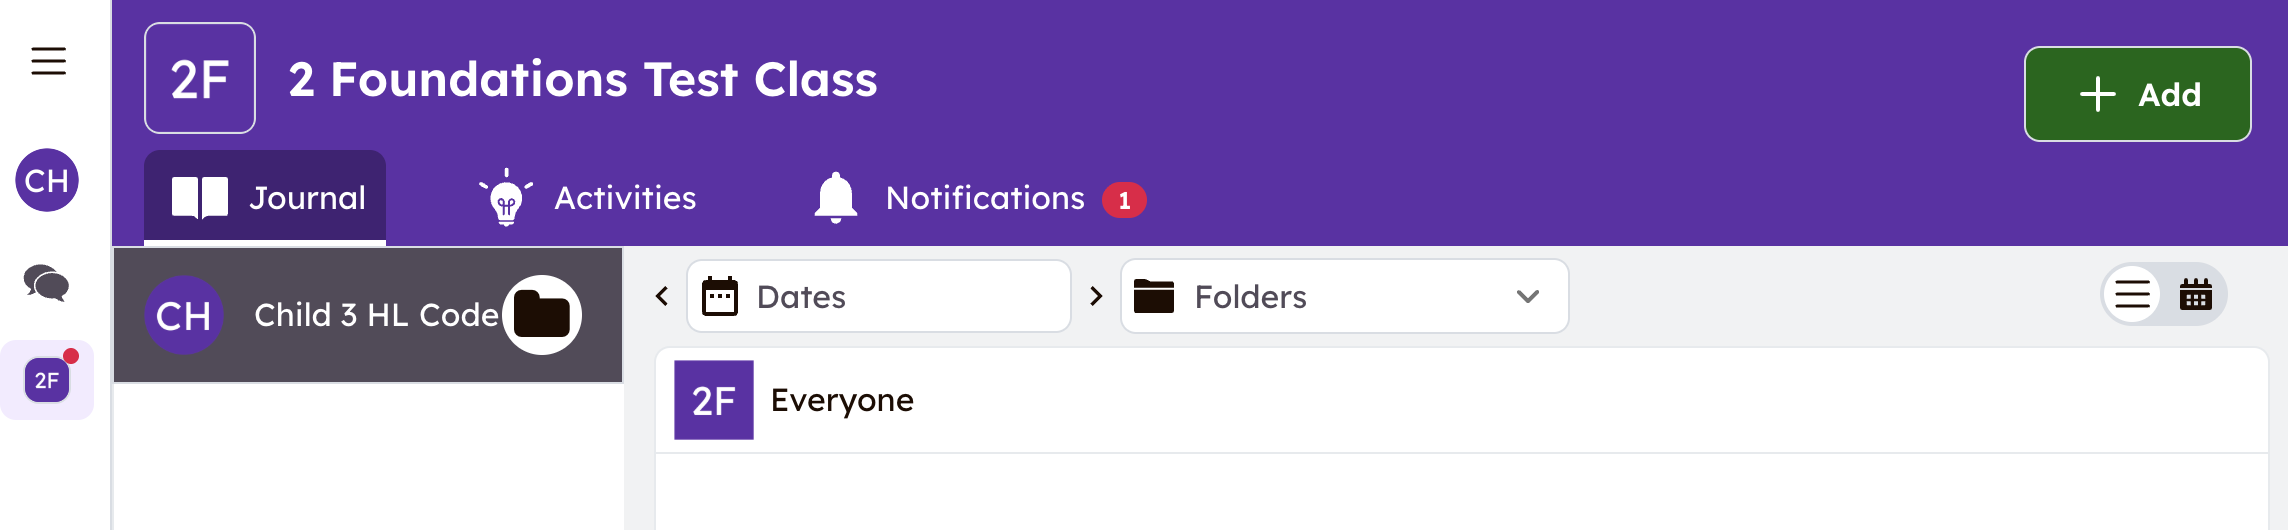
Step Three:
|
On the page that opens:
|
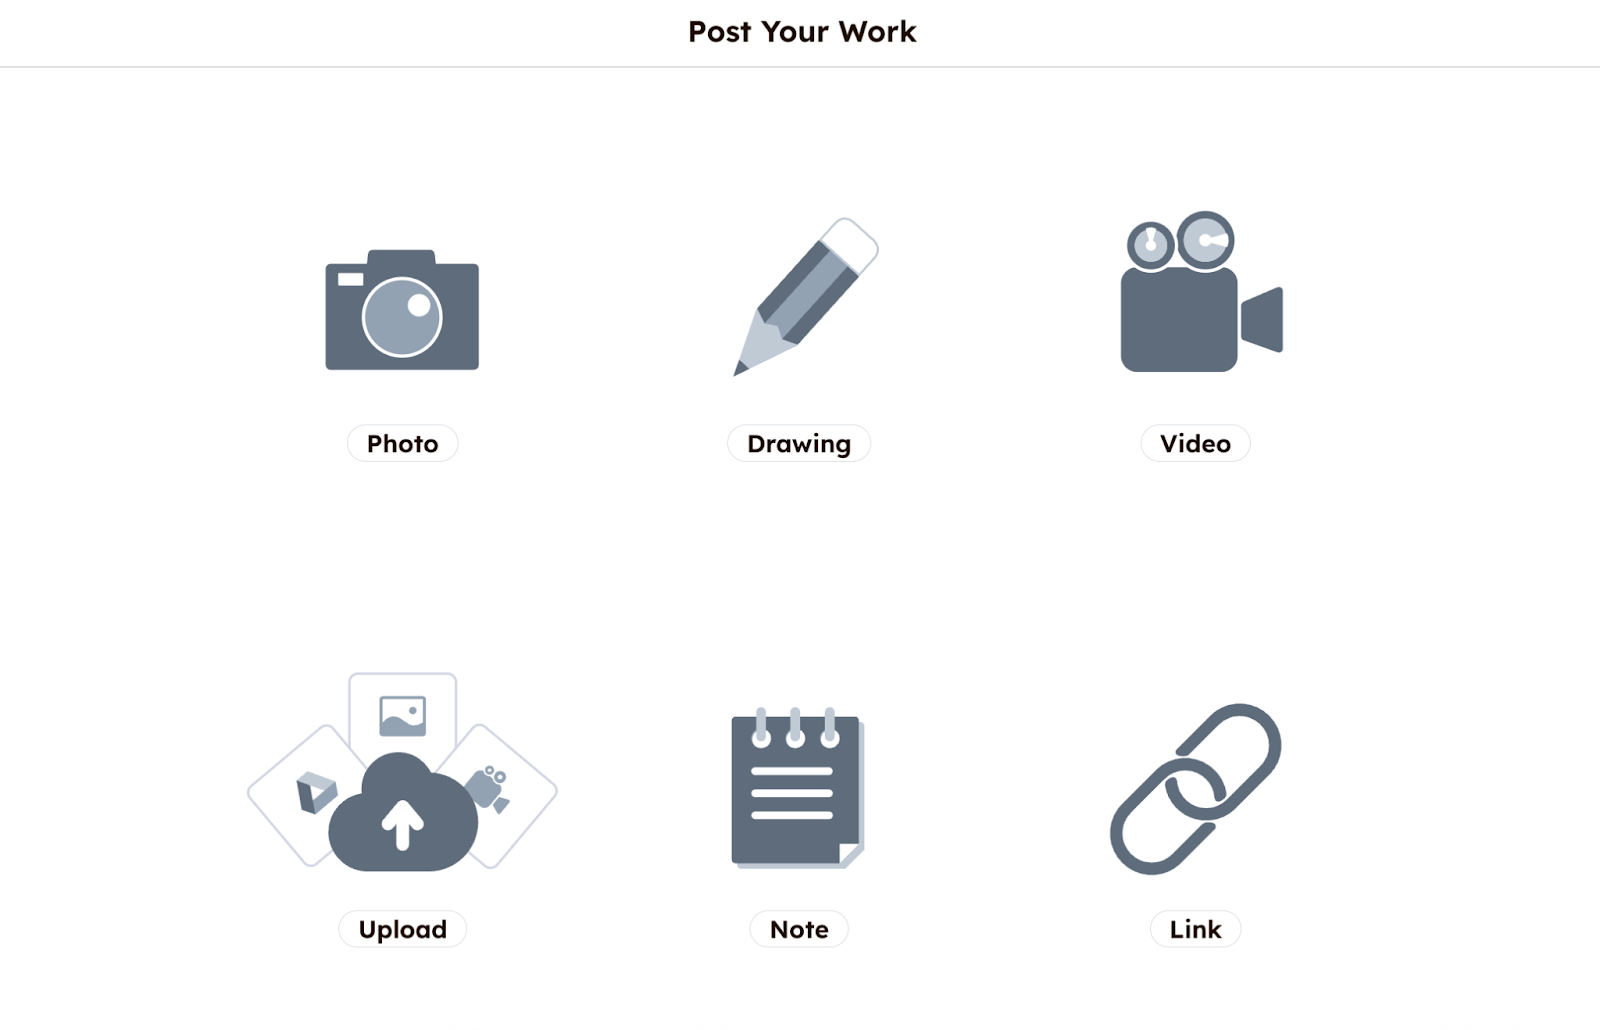
Step Four:
|
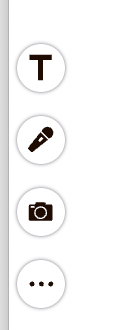
You can edit the post by adding voice recordings, drawings, text labels, or captions by clicking the icons to the left of your screen. |
You can also click the quotation mark button at the bottom left |
|
|

Step Five:
| Tap the |
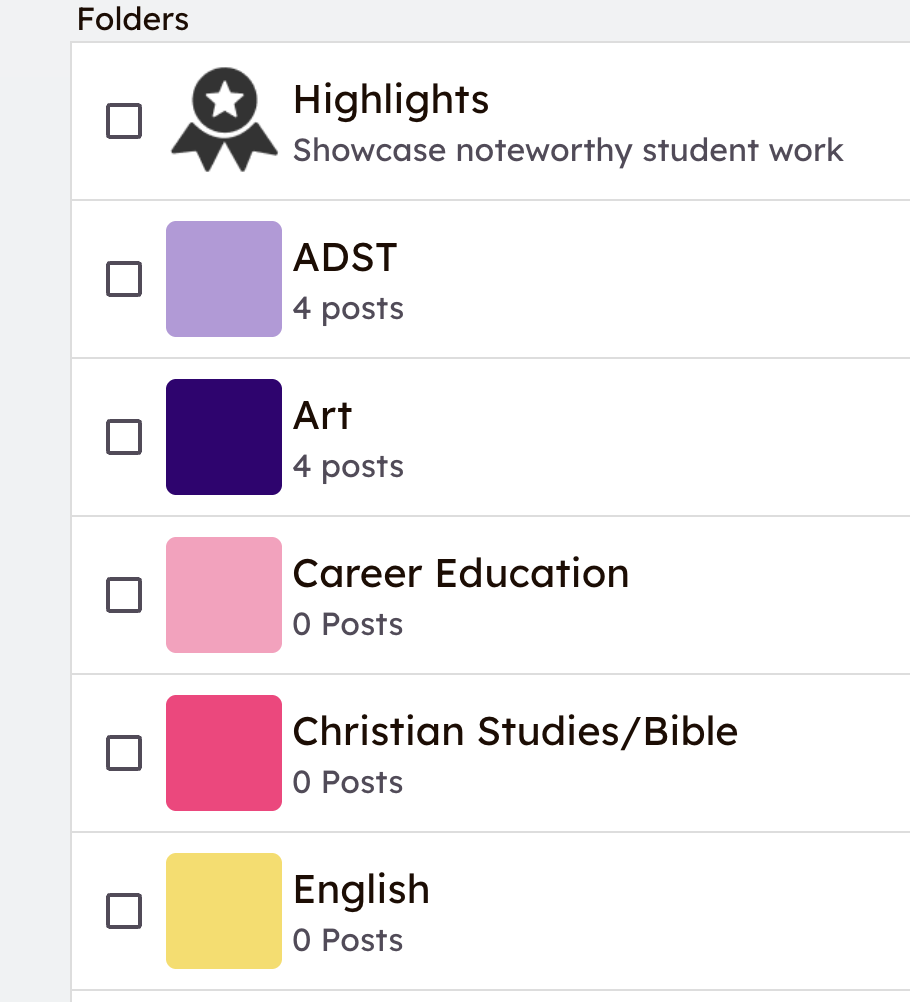
Optional: select a folder or folders to tag your work sample. It will |
|
|

Step Six:
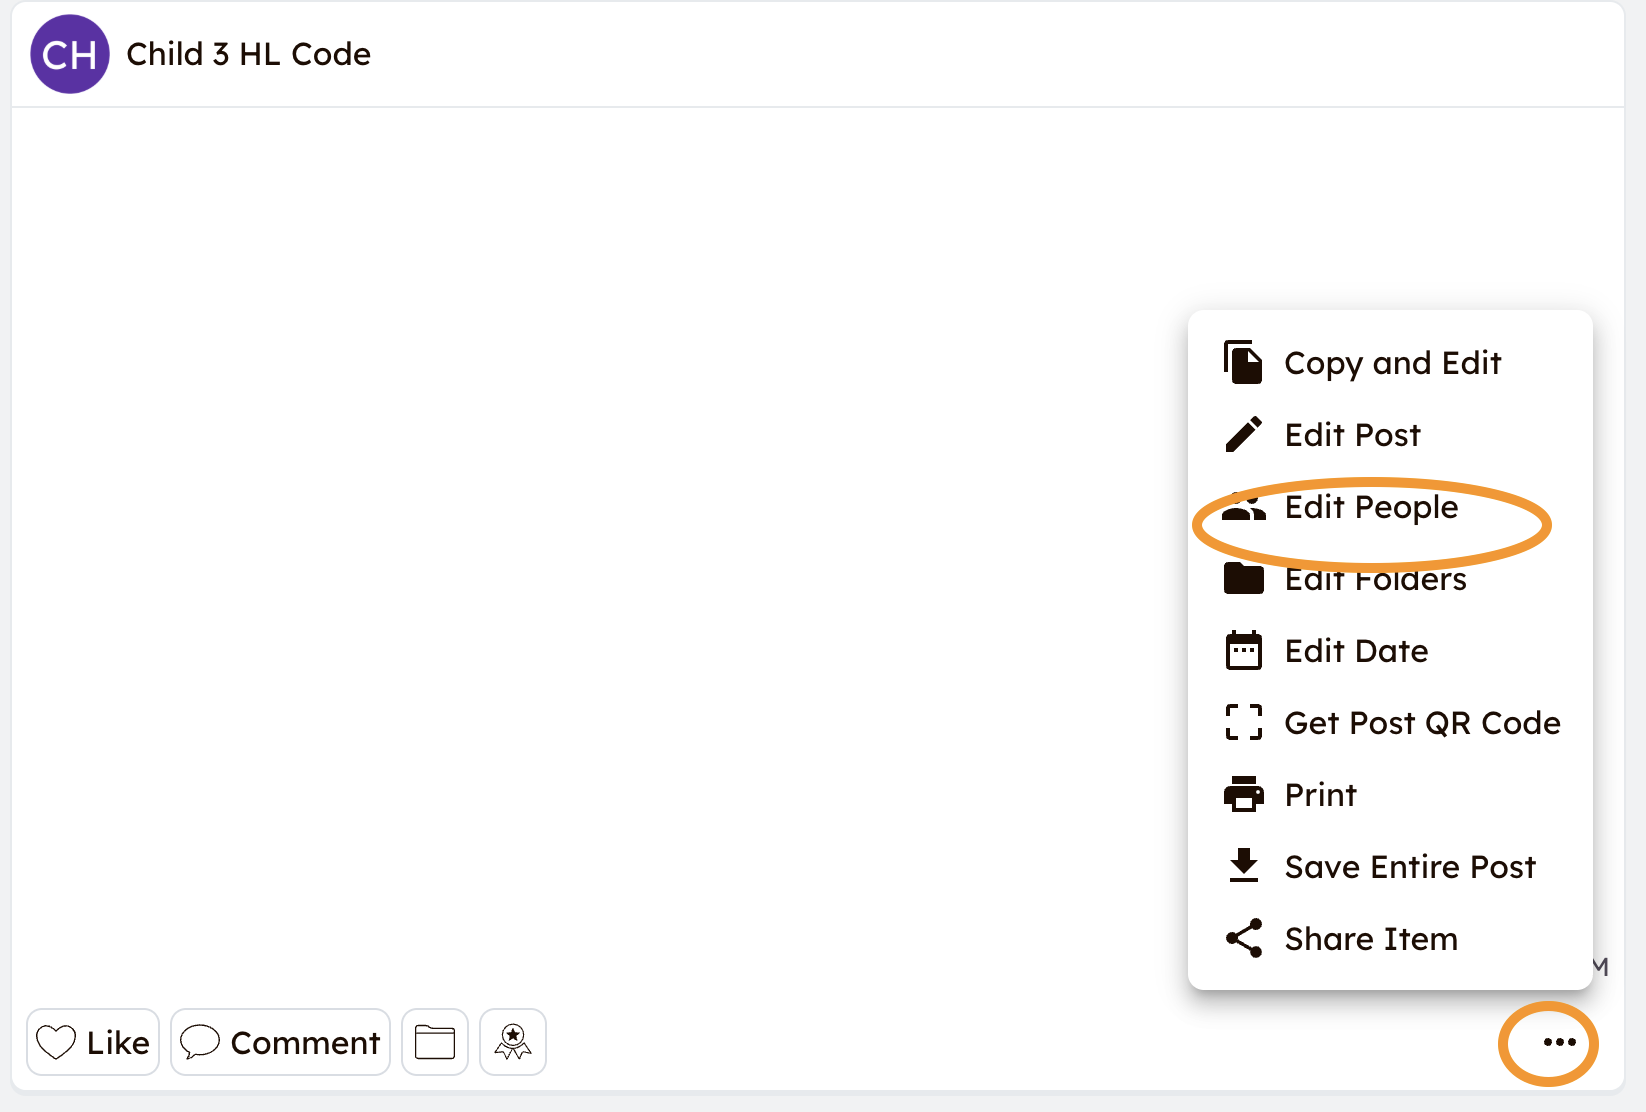
| Once it's posted, click the |
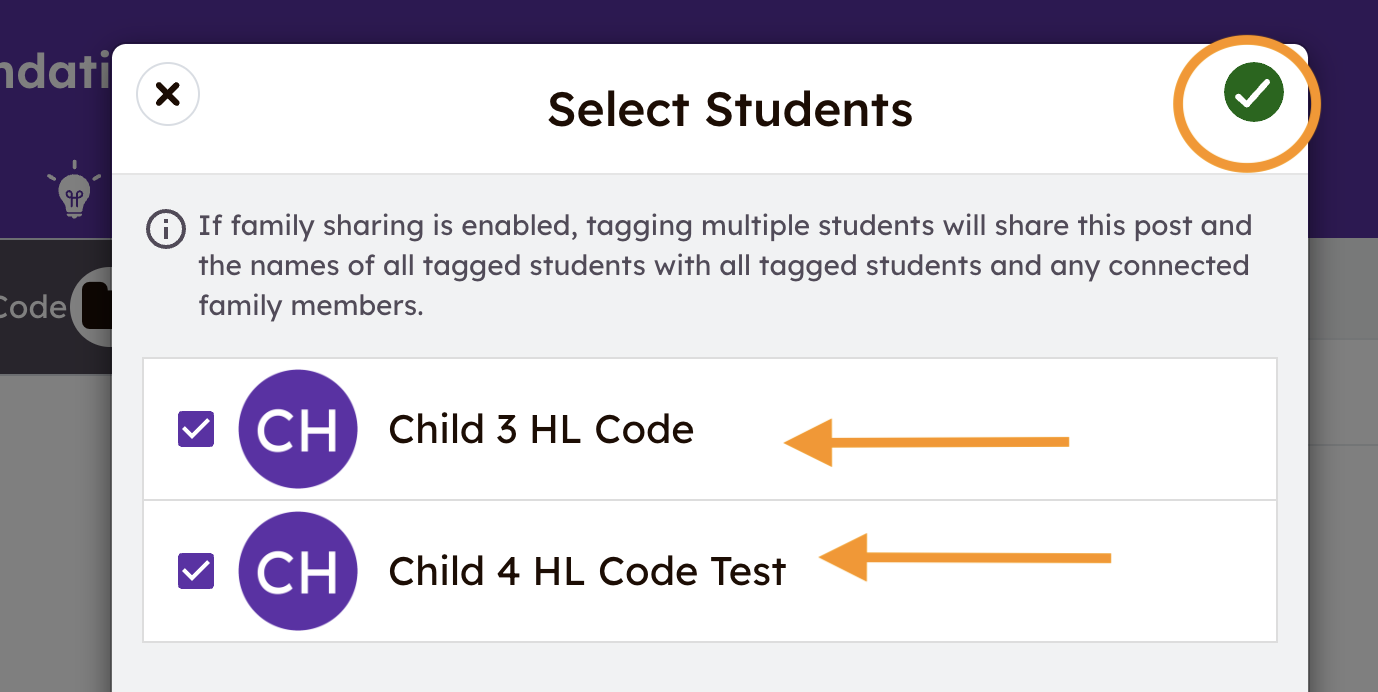
In the window that opens, select the students the post applies to, and click the green checkmark to add it to each portfolio. |
|
|
|
Step Seven:
- To add a comment or additional details about the post, click the 'Comment' box under the posted work sample and write your comment. You can also add a voice comment by clicking the microphone. If the comment applies to all students, simply add that to the note.
Additional Support
How to use Multipage to post up to 20 pages