Pacing and Progress Tool - Set up and Editing Instructions
To create a pacing schedule within your Brightspace course:
1. Log in to Brightspace.
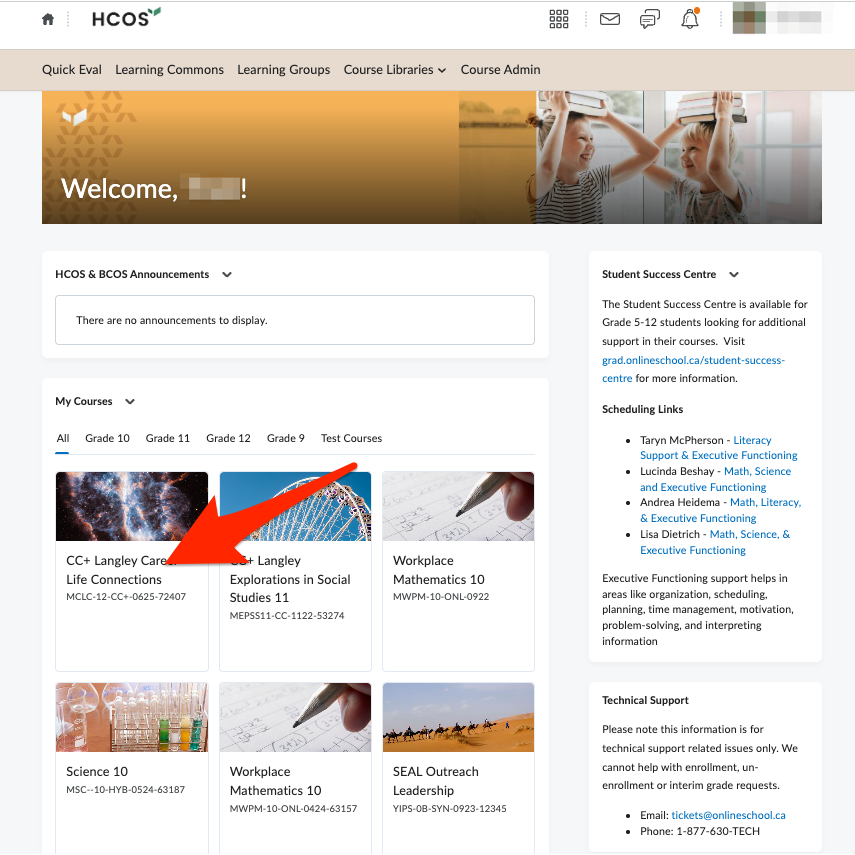
3. In the navigation bar for that course, click Pacing & Progress Tool. 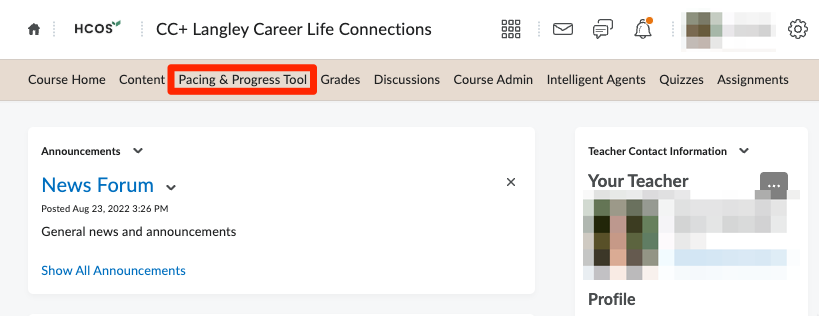
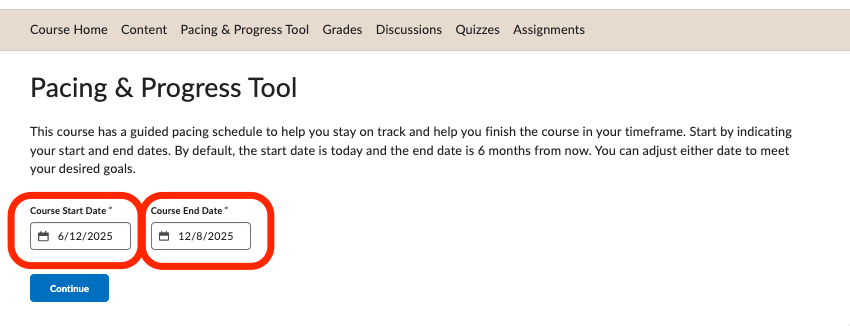
4. This will take you to the set up page for the tool. Set the course start date, which will automatically populate with today’s date. Then, set your desired end date. The end date can always be changed later to allow you more time as needed.
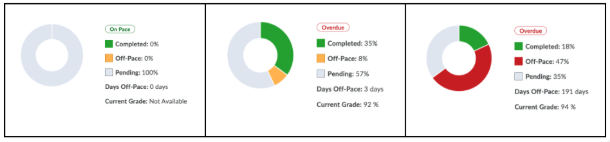
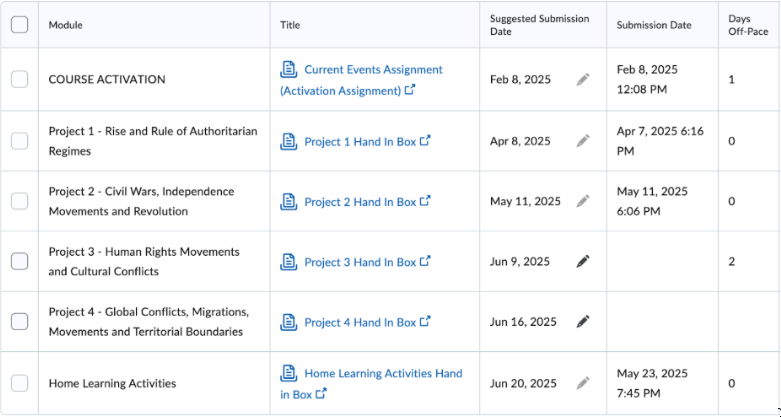
5. When you are done, you will see your Pacing & Progress Widget populate on the right-hand side of the course page. Below are some examples of what it may look like:
6. If you need to customize your suggested submission dates, press the pencil beside the date.
Once you have completed the set up of your pacing and progress tool, or edited your dates, your course teacher will be able to view any changes you've made to help track your progress.