Technology & Tools
- Computer Lease Agreement FAQ
- Google Workspace for Education
- Grammarly for Students
- Getting Started With Read&Write
- Using Read&Write with Provincial Assessments
- What is Read&Write?
- Using Adobe Creative Cloud
- Zoom ‘How To’ Basics for Families - Get the Most out of Zoom!
- Using Read&Write
- Canva for Education
- Encom: Claiming a Google Account
Computer Lease Agreement FAQ
1. What computers are available?
To simplify selection and ensure devices are received in a timely manner, we have made the following options available to families.
| Device | Description | Total Cost | Year 1 | Year 2 | Year 3 |
| 14" Lenovo L14 | Good for general school work and browsing. |
||||
| 15" MacBook Air | |||||
| 14" MacBook Pro | For students who need access to more processing power for media creation. |
||||
| 16" Lenovo P16 | |||||
| 11" iPad (128GB) | Meant for basic apps and browsing. | ||||
| 13" iPad Air (256GB) | Larger screen for those looking to work primarily on the iPad. |
If the student’s program and Student Learning Plan (SLP) indicate the need for a higher-end device, the teacher may consult with the IT Manager before the family submits the form to confirm device options and ensure the additional cost is clearly understood.
2. What is the cost of leasing a computer?
The cost to lease the computer is the total cost of the device at the time of purchase, broken down over three years as follows and shown in the table above:
-
Year 1: 50%
-
Year 2: 30%
-
Year 3: 20%
In addition, a deposit must be paid based on the device selected:
-
$50 for iPads under 13”
-
$100 for laptops and special orders
Deposits cannot be paid using curriculum funds. The family will be invoiced at the time of application, and the order will be shipped once the deposit has been paid. All equipment includes an extended warranty.
3. Why do I need to sign an equipment agreement?
BC Ministry of Education and Child Care regulations require that all equipment be owned by the school. The agreement acknowledges that the parent understands the ownership of the computer and that the cost of the computer will be taken out of the student's curriculum budget.
4. Can I keep the computer?
The equipment agreement lasts for three years. At the end of that time, you can return the computer or keep it, as long as there are no further amounts owing.
5. What if I leave the school before the lease expires?
You have the option of either returning the computer or buying out the lease.
6. Is it mandatory to have an extended warranty?
An extended warranty is required to ensure that any technical issues can be resolved quickly, minimizing disruption to the student’s learning. Each device will include setup instructions and clear steps for accessing support if needed.
7. What are the next steps?
-
Consult your teacher to assess your student’s program and device requirements.
-
Ensure you have the necessary curriculum funding available. Families can opt to pay the difference in Year 1, if necessary.
-
Submit the Computer Lease Agreement form to your teacher.
-
Your teacher will submit a Computer Lease Request form to the office.
-
Once the deposit is received, your device will be shipped to the address provided on the request form.
Google Workspace for Education
Google Workspace for Education gives students access to many Google apps. Some of the popular apps are Gmail, Google Docs, Google Slides, and Google Drawings. Parents are encouraged to have conversations with their students to ensure platform access aligns with family values and learning goals.
 Google Workspace for Education accounts are available for HCOS students. Google Workspace for Education is a set of Google tools aimed at helping students build skills in collaboration, critical thinking, and creativity while keeping learning engaging and safe. Students will have access to tools such as Gmail, Google Docs, Google Slides, and Google Drawings to help them develop digital literacy and executive functioning skills while sharing their work with their teachers (support, CC+, online) and classmates. Students will be able to create a portfolio of their work over time and see the progression of their learning and growth, while building essential digital skills that will equip them for their high school years and beyond.
Google requires parents consent to the creation of accounts. Before we can create an account, we need parents to fill out this form: https://hcos.ca/us-signup. This form includes the Google Workspace for Education Notice to Parents and Guardians, explaining how Google Workspace for Education accounts are treated differently than regular Google accounts. Specifically, Google exempts these accounts from the typical advertisement and scanning that occurs with regular accounts. For additional training, we encourage students to enroll in the Orientation to Online Courses ADST module to participate in lessons on how to navigate and use Google Workspace tools.
Click here to read the full Google Workspace for Education Notice to Parents and Guardians.
HCOS Google Workspace for Education student accounts will be firstname.lastname@student.onlineschool.ca For example, Suzy Smith would be suzy.smith@student.onlineschool.ca After completing the sign-up form, you will receive an email with your username and password to access your Google Workspace account. Families can update student email addresses to the Google Workspace email in Encom by following the steps listed under "Setting Up A Student Account" on this page.
We look forward to partnering with you through upholding our core value of flexibility and ensuring these tools align with your family’s digital literacy goals.
Grammarly for Students
Grammarly for Education is a tool to support students with real-time feedback on their writing. Grammarly can be downloaded or added as a browser extension, plus students can interact with the Grammarly Editor online. Here are some helpful tutorials for getting started:
-
- Grammarly Browser Extension shows you how to add Grammarly as a browser extension in Chrome, Safari, Firefox, and Microsoft Edge.
- Guide for Google Docs gives ideas for to use the Grammarly extension in Google Docs.
- Grammarly Editor User Guide is an article on using Grammarly's web-based editor to create, upload, and edit your documents.
For further support, please visit the Grammarly for Faculty and Grammarly for Students resource hubs.
Sign-Up and Questions
Parents of HCOS students can sign up for Grammarly using the Universal Supports form. Please consult with your teacher if you wonder if this might be a good tool for your student. Any technical questions related to Grammarly can be directed to tickets@onlineschool.ca.
Flex Academy students should contact Flex Academy Director Bri Dyck (bri.dyck@flex.academy) to gain access to Grammarly for Education.
Getting Started With Read&Write
Watch this short video to learn how to install the Read&Write extension on your Google Chrome browser. If you prefer, there are step-by-step written instructions with screenshots below the video.
Step-By-Step Instructions
There are four steps to get started with Read&Write.
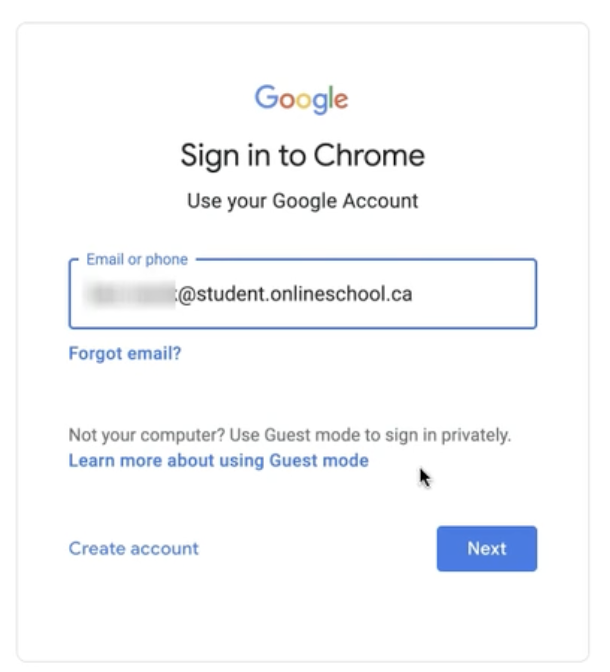
Step 1: Log into the Google Chrome browser by clicking the circle in the top right corner, then entering your HCOS or Flex Academy username and password.
If you do not have the Google Chrome browser, download it here.
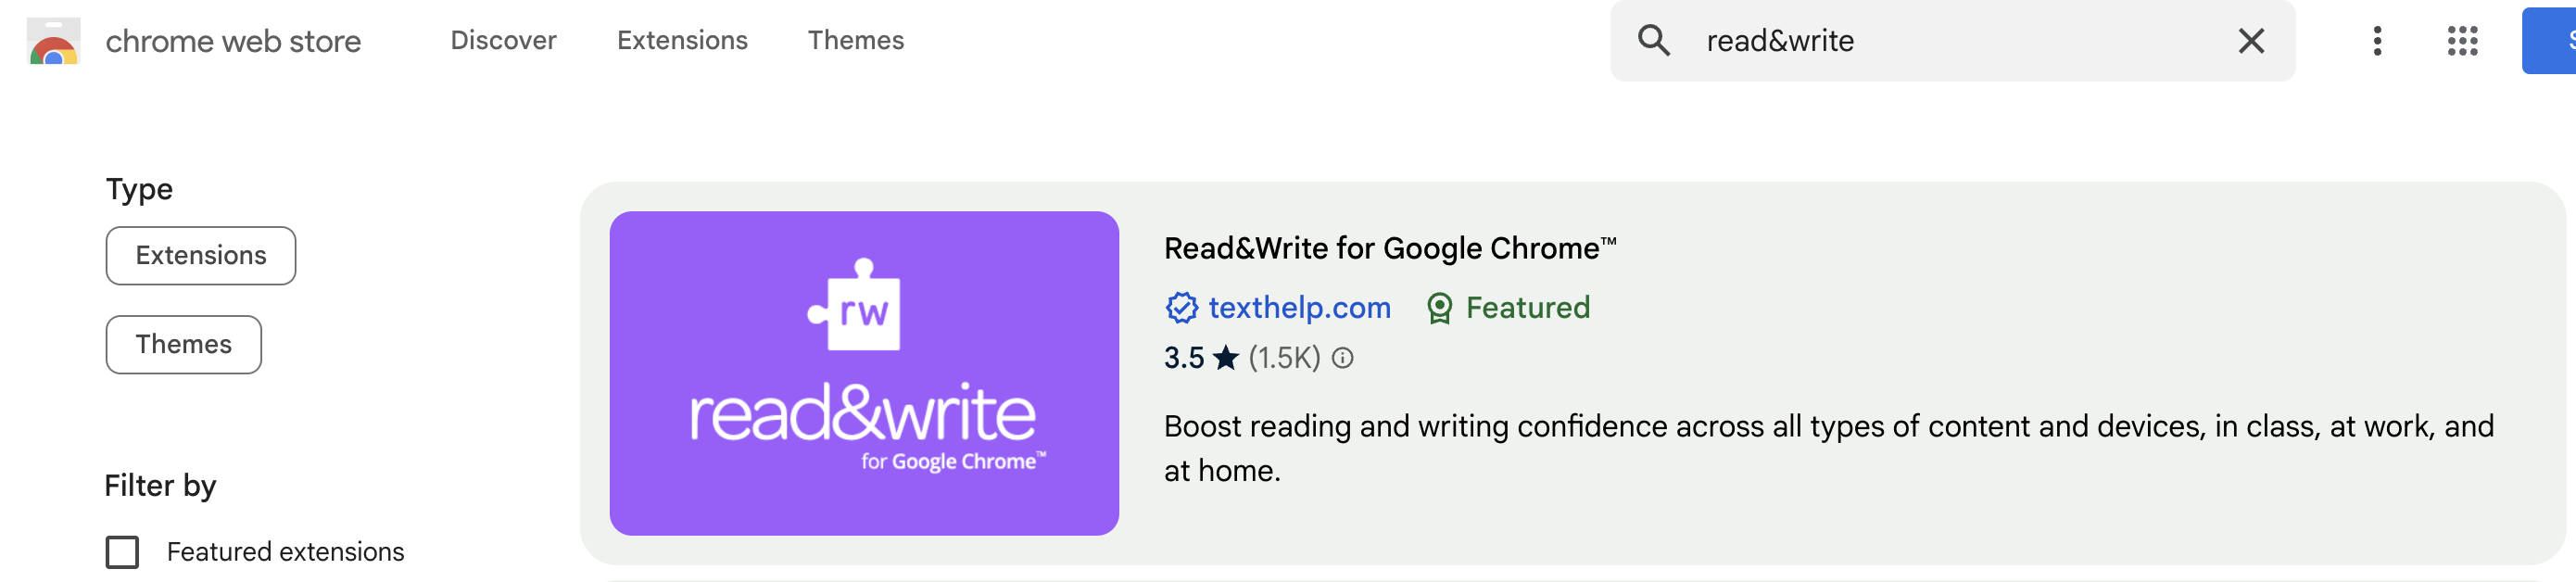
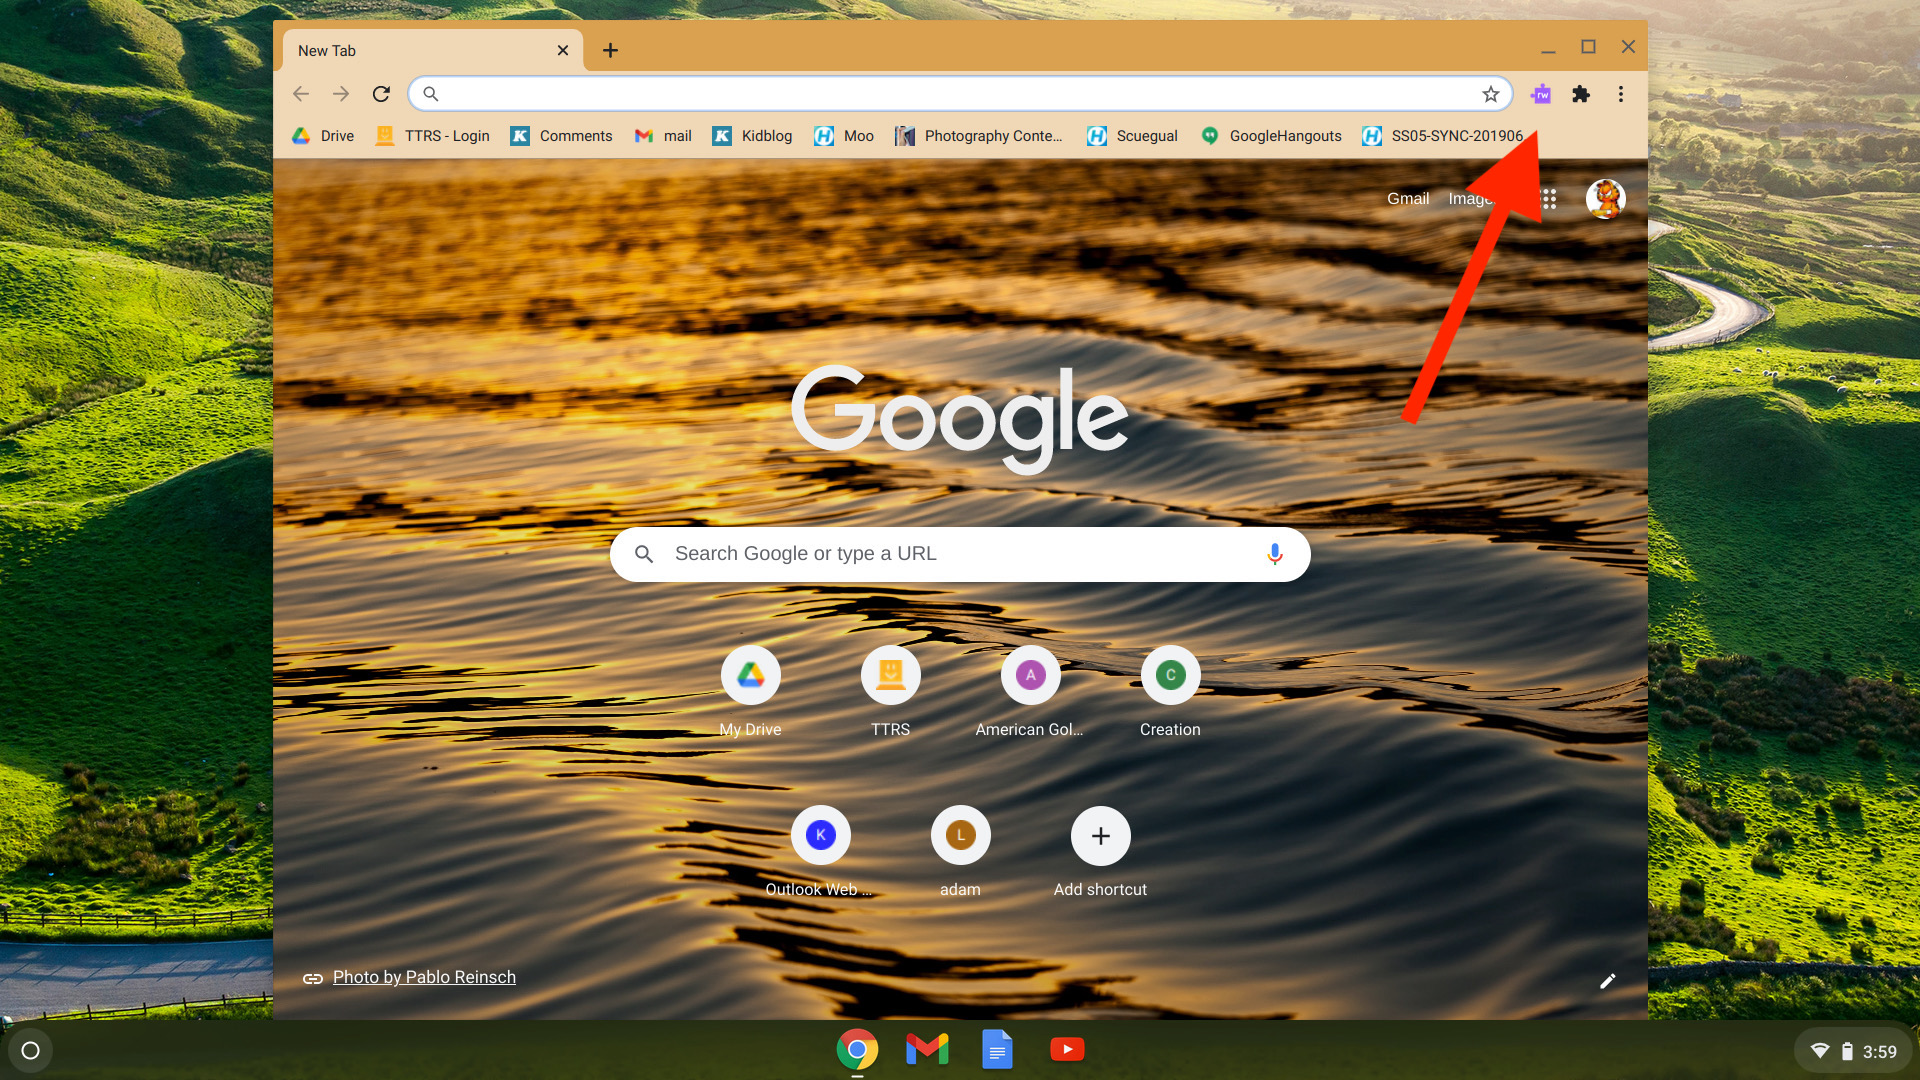
Step 3: Click the blue "Add to Chrome" button.

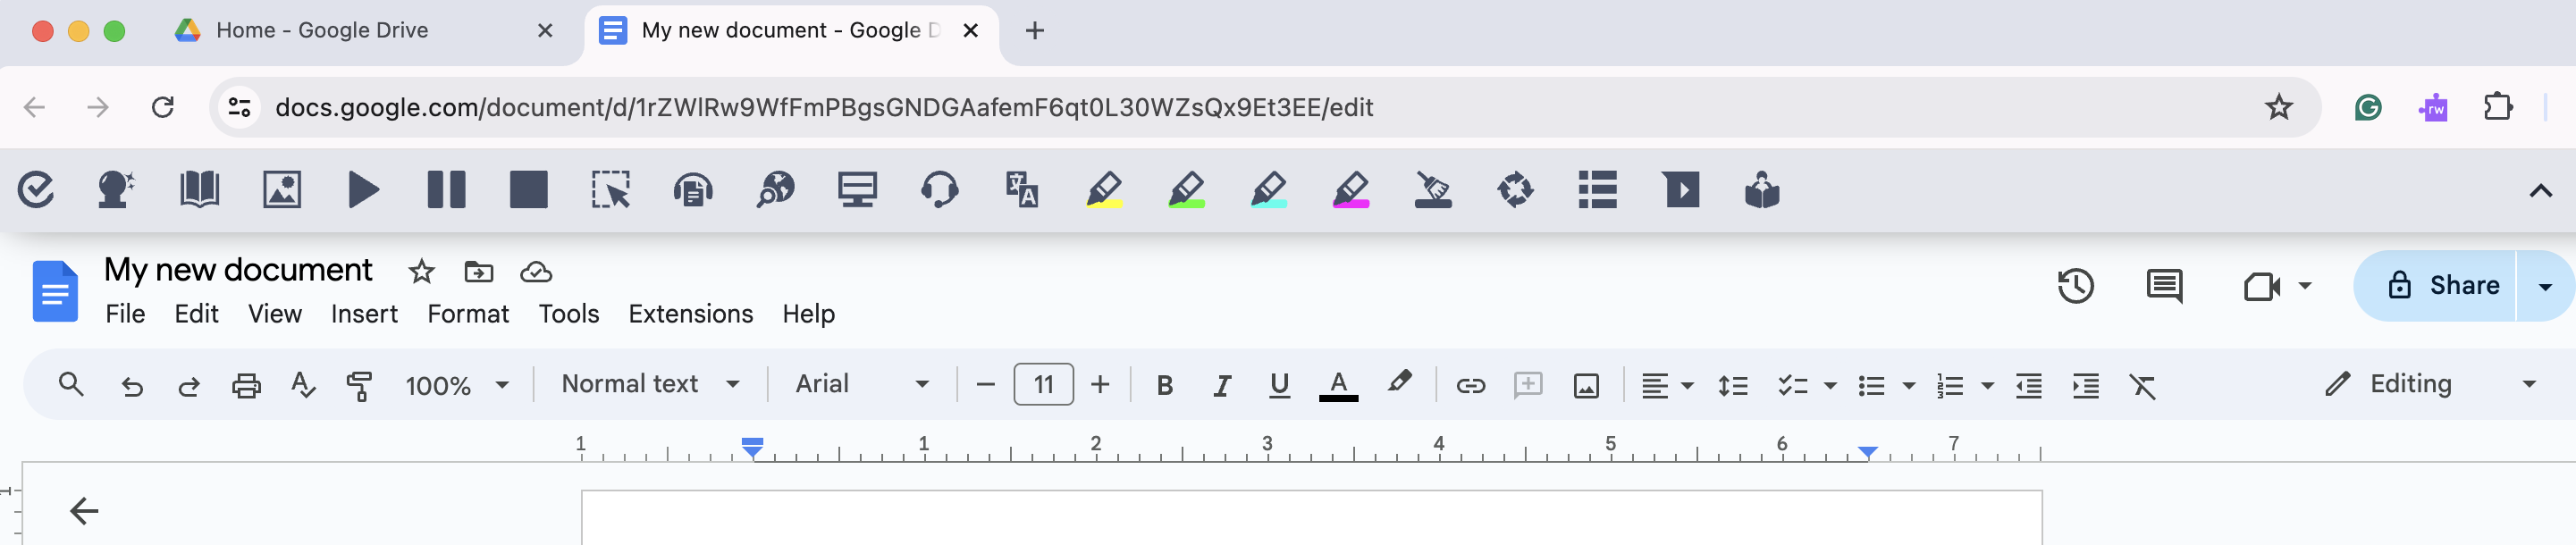
Step 4: Click the Read&Write extension to activate the Read&Write toolbar when working in Google Workspace apps or browsing websites in the Chrome browser.
To learn more about how to use each feature of the Read&Write toolbar, visit the Using Read&Write SOPHIE page.
Using Read&Write with Provincial Assessments
For students who are wanting to use Read&Write for their Provincial Assessments.
- Please contact Allison Miles (amiles@onlineschool.ca) to notify her that you plan on using Read&Write so we can ensure we are prepared for your assessment date.
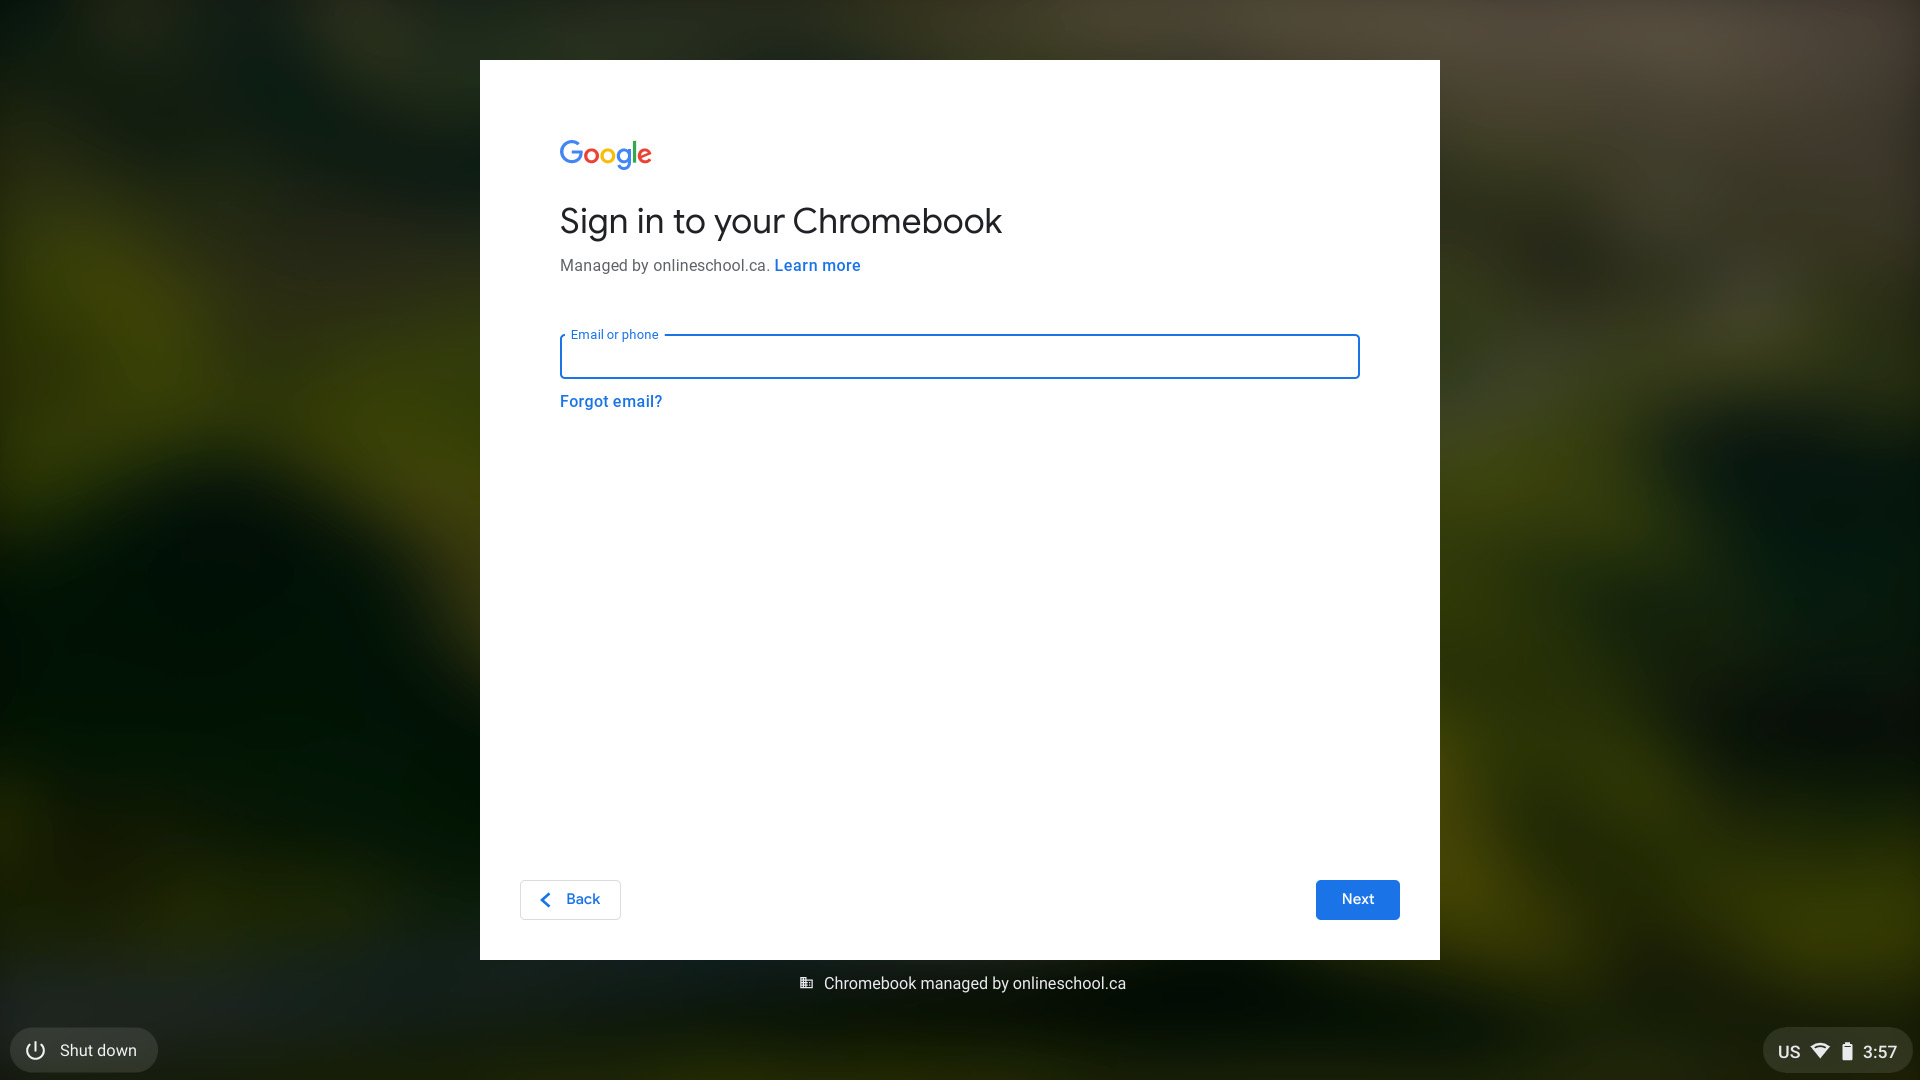
- Ensure Read&Write is installed as an extension of your HCOS Chrome Account (must be a HCOS account) Here are video instructions for use of Read&Write.
- The provincial assessments, HCOS Chromebooks are provided.
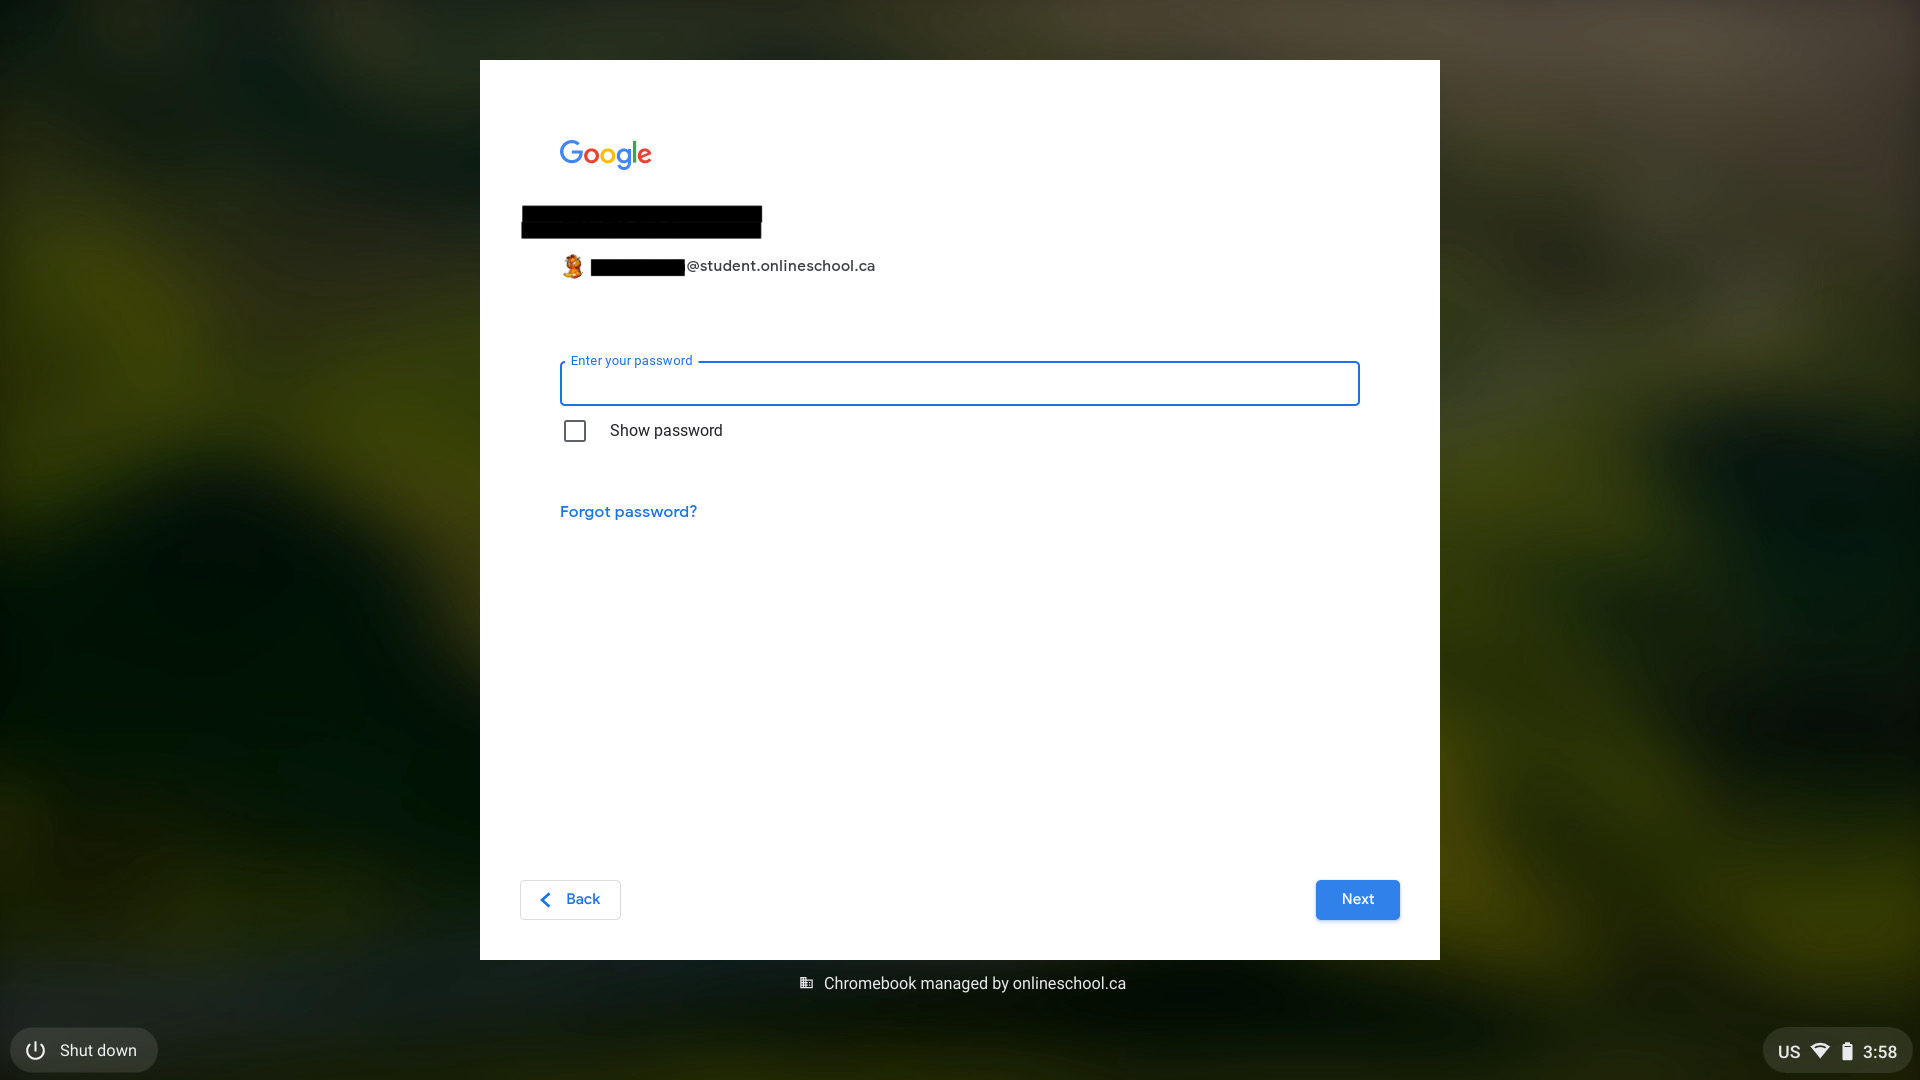
- You will need your HCOS Google Login for the exam.
- eg. firstname.lastname@student.onlineschool.ca
- Password for your @student.onlineschool.ca account
- Turn on the Chromebook marked Read&Write (please ask the invigilator for one of these Chromebooks)
- Use your firstname.lastname@student.onlineschool.ca account/email address
6. Use your password from your firstname.lastname@student.onlineschool.ca
7. Your Chrome browser will open. It may take several minutes for your existing extensions to install. Read&Write will install if you had it installed on your home computer with your HCOS account. You can also click here to install the extension.
8. Once logged in and your HCOS Chrome Browser has updated the Extensions, please go to this page for the Assessment and click on the "Secure Accomodations". For practicing click on "Accomodations Samples".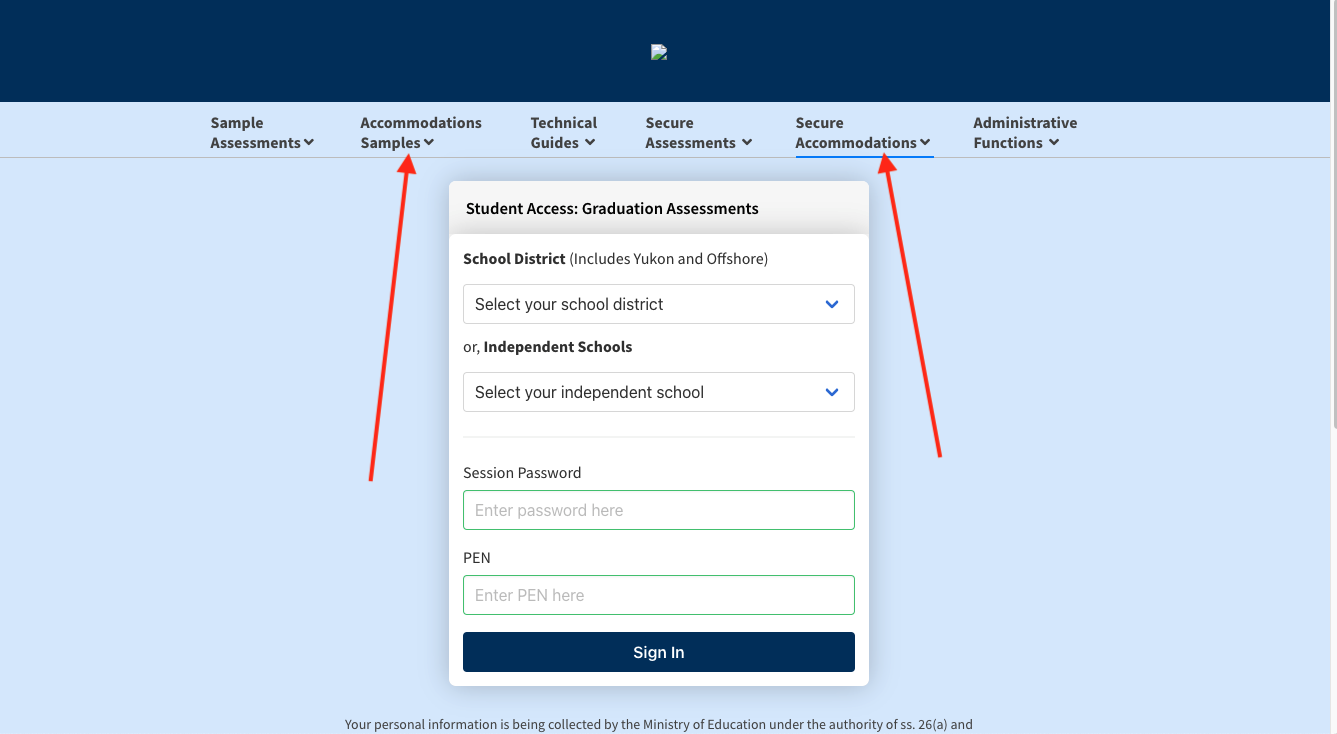
What is Read&Write?
Read&Write is a support tool HCOS is providing for students who can use this as universal support.
What is Read&Write?
Read&Write is a Google Chrome browser extension that allows students to use many different tools such as Text to Speech, Vocabulary, Picture Dictionary, Note Taking, Text Prediction, Screen Masking, Hover Speech, Talk and Type, Practice Read Aloud, and more.
How do I get Read&Write for my enrolled students?
To get Read&Write, students need an HCOS Google Workspace account and adding the Read&Write extension in Google Chrome. To request an HCOS Google Workspace account and access to Read&Write, please complete the Universal Supports Signup Form.
For instructions on installing and using Read&Write, please follow this link.
Using Adobe Creative Cloud
Once your teacher has requested an account and provided you with the login information you can follow the steps below to get started.
- Download the Adobe Creative Cloud App from https://creativecloud.adobe.com/apps/download/creative-cloud
- Once installed, students select Google as the login method and use the account provided
- After successfully logging in they will see a listing of programs that may have a Request Access button. Please click on the button for the program you want to install to activate and install the app.
If you run into issues or would like a hand, please email tickets@onlineschool.ca and one of our support team will be happy to help walk you through the process.
Zoom ‘How To’ Basics for Families - Get the Most out of Zoom!
Introduction
It is helpful and even necessary for some of our programs within HCOS to meet and chat virtually. Your child may meet with their teacher online or want to send a quick text message. Traditionally, many of us have used Skype to do this, but in recent years we have transitioned to a new resource called Zoom.
One advantage of Zoom is that you can join a meeting through a link that the host will provide, even without installing the app, although installing the app does allow you to use many more helpful features, particularly the instant text messaging. See the section below on installing the app for more information.
There are excellent tutorials on the Zoom website, but we have outlined a few key features here as well.
Joining a Meeting
Your teacher may provide you with a link to join a meeting, or perhaps your program has weekly class meetings. The link will look something like this: https://onlineschool.zoom.us/j/432###998 but with a different number combination.
If this is the case, you can simply click on the link and your computer should open a new window and automatically connect you to the meeting "room." You may receive a message that you are waiting for the host to open the room, but as soon as the host has done so, you will see a window open like this:

Keep in mind that Zoom will automatically search for your speakers and microphone and if these connect, you may hear conversation and that others in the meeting may hear yours. If you are having a serious conversation with your cat, everyone in the meeting room may be hearing it as well!
If your speakers and microphone or video do not automatically connect, you may need to click Join Audio at center left:

You may even need to move your mouse over the Zoom window to bring up the task bar along the bottom then click the up arrow beside the microphone or video icons and select the correct speaker, microphone, or camera. You can also mute or switch off your camera here.

To view the meeting participants (it reads "Manage Participants for the host, so just look for "Participants") by clicking on the buttons on the task bar along the bottom of the meeting window.

This task bar may be hidden. If so, just move your mouse over the Zoom Meeting Window and the task bar will appear. You will see controls to mute or select microphone and speaker at bottom left, as well as control your video camera. You can also share your screen using the green rectangle button here, or the Share button in the middle of the window.
One you have clicked on Participants and Chat you will see a panel on the right side of the meeting screen. We recommend keeping these panels open throughout the meeting.
Meeting Text Chat
Zoom Group Chat in meetings allows participants to text chat during the meeting, either to the whole group, or by private message to just one person.
Important note: If you private message someone or receive a private message, your text chat will remain on private until you click Everyone again.
Participants Panel
If you hover over your own name in the list of participants, you can switch your microphone or camera on or off. Click on more, and you will see additional options including Rename. Your host also has these options for participants.
Sharing Screen
Sharing screen offers a variety of functions, but please don't share without asking first. When someone shares screen, it sort of takes over what all participants see, and goes to full-screen size by default. To minimize this, double-click anywhere on the screen.
End or Leave Meeting
Leave Meeting is on the lower task bar in red or can be accomplished using the black arrow top right, and when clicked on, you can leave the meeting. Your host may also end meeting for all.
If you choose to install the app
One major advantage to installing the free Zoom app is that it allows you to add contacts then use instant text chat messaging. This is a convenient way to contact your teacher for quick questions if they use Zoom as their primary messaging service. Some still prefer Skype but they will let you know, either way.
If you wish to install the app, go to Zoom.us then click on the blue button at top right, "SIGN UP, IT'S FREE" and follow the steps. Once you have completed the installation and opened the app, you will see your main control panel that looks like this:

You can add contacts by sending requests by email from the Contacts tab button on the bottom task bar.
Using Read&Write
The Read&Write toolbar has many helpful features to support student learning. This page outlines each tool with a quick summary and video tutorial. For additional support, visit the TextHelp Support Centre or browse the TextHelp YouTube playlist.
Toolbar Overview
The Read&Write toolbar will appear when using Google Workspace apps or websites in the Chrome browser.
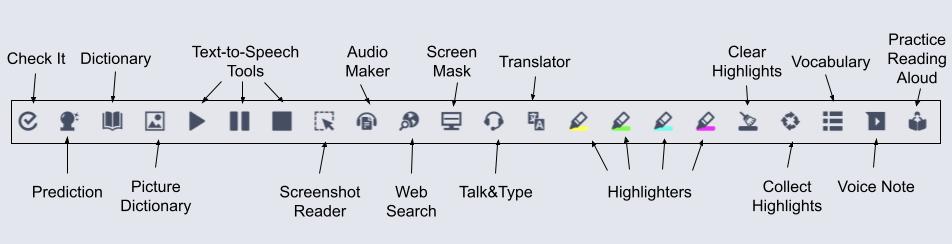
To learn more about each tool, explore the Tool Usage Guide.
Check It
Check It helps users identify and correct spelling, grammar, and punctuation errors in their writing, enhancing overall accuracy and quality.
Prediction
Prediction suggests words as you type, improving writing speed and helping with word choice, especially for those with learning difficulties.
Dictionary
Dictionary provides written and spoken definitions for words to help users understand and learn new vocabulary, supporting reading comprehension and writing accuracy.
Picture Dictionary
Picture Dictionary offers visual representations of words to aid in understanding and memorization, particularly useful for visual learners and younger users.
Text-to-Speech Tools
Text-to-Speech Tools convert written text into spoken words, allowing users to hear the content, which supports comprehension and editing by providing auditory feedback.
Screenshot Reader
Screenshot Reader reads text aloud from screenshots, making inaccessible text (e.g., in images or PDFs) available to users, enhancing accessibility.
Audio Maker
Audio Maker converts text into audio files, enabling users to listen to their content on the go, which is useful for auditory learners and those who prefer listening over reading.
Web Search
Web Search allows users to search the web directly from the tool, providing quick access to additional information and resources without leaving the document.
Screen Mask
Screen Mask highlights the area around the cursor or reading area, helping users focus on specific parts of the text, reducing distractions and aiding concentration. This tool is especially useful for students with visual tracking issues or Irlen syndrome.
Talk&Type
Talk&Type converts spoken words into written text, making it easier for users who struggle with typing or have physical disabilities to input text.
Translator
Translator converts selected text into different languages, supporting multilingual users and those learning new languages by providing instant translations.
Highlighters, Clear Highlights, and Collect Highlights
Highlighters give four colour options for users to highlight text in different colours to organize information, make notes, and emphasize important points, aiding in study and review.
Clear Highlights removes all highlights from the text, allowing users to reset their highlighting and reorganize information as needed.
Collect Highlights gathers all highlighted text into a separate document, making it easy to compile and review key points and notes.
Vocabulary
Vocabulary creates a list from highlighted words, including definitions and images, helping users learn and review new terms systematically.
Voice Note
Voice Note allows users to record and insert audio notes into their documents, providing an alternative way to add comments or explanations.
Practice Reading Aloud
Practice Reading Aloud enables users to practice and improve their reading fluency by recording and listening to themselves read, sharing their work with a teacher, and receiving feedback on their pronunciation and intonation.
Canva for Education
Canva is a great tool for creating rich and engaging communication using various media. HCOS is happy to offer it as a free tool to support students at HCOS in creating content as part of their educational programming.
To sign in, go to https://canva.com and use your Google Workspace account.
HCOS students without a Google Workspace account can request one at https://hcos.ca/us-signup.
Flex students without a Google Workspace account should contact the office.
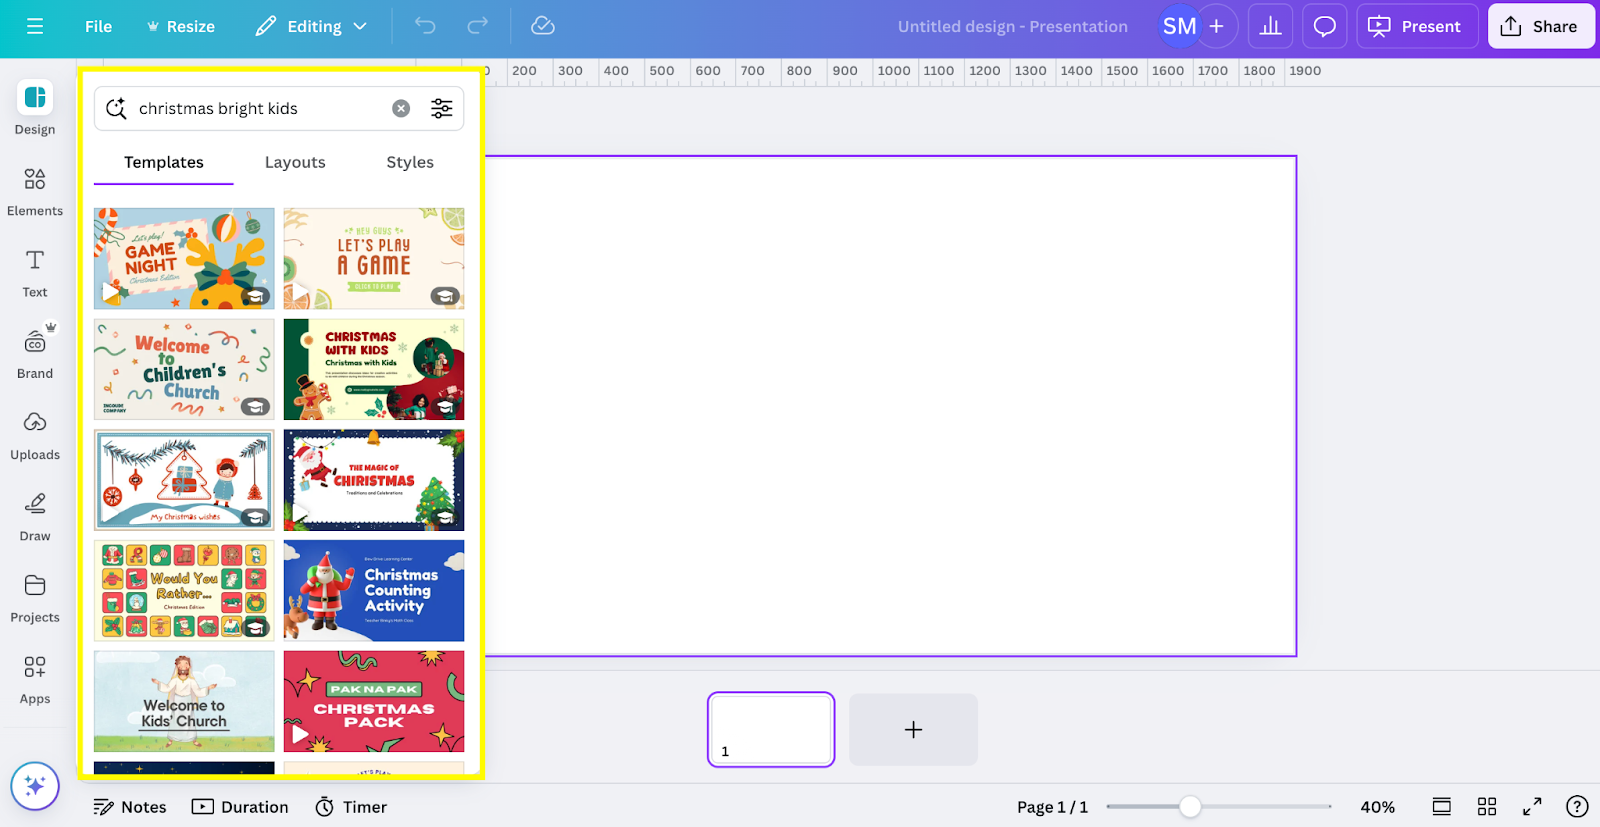
Getting Started with Canva for Education
Canva is loaded with templates you can use to create engaging slideshow presentations, worksheets, posters, videos, and more. Choose from the listed items or use the search toolbar to find a specific theme or style.

Once you select the design type, use the design search bar to find a template to match your theme.
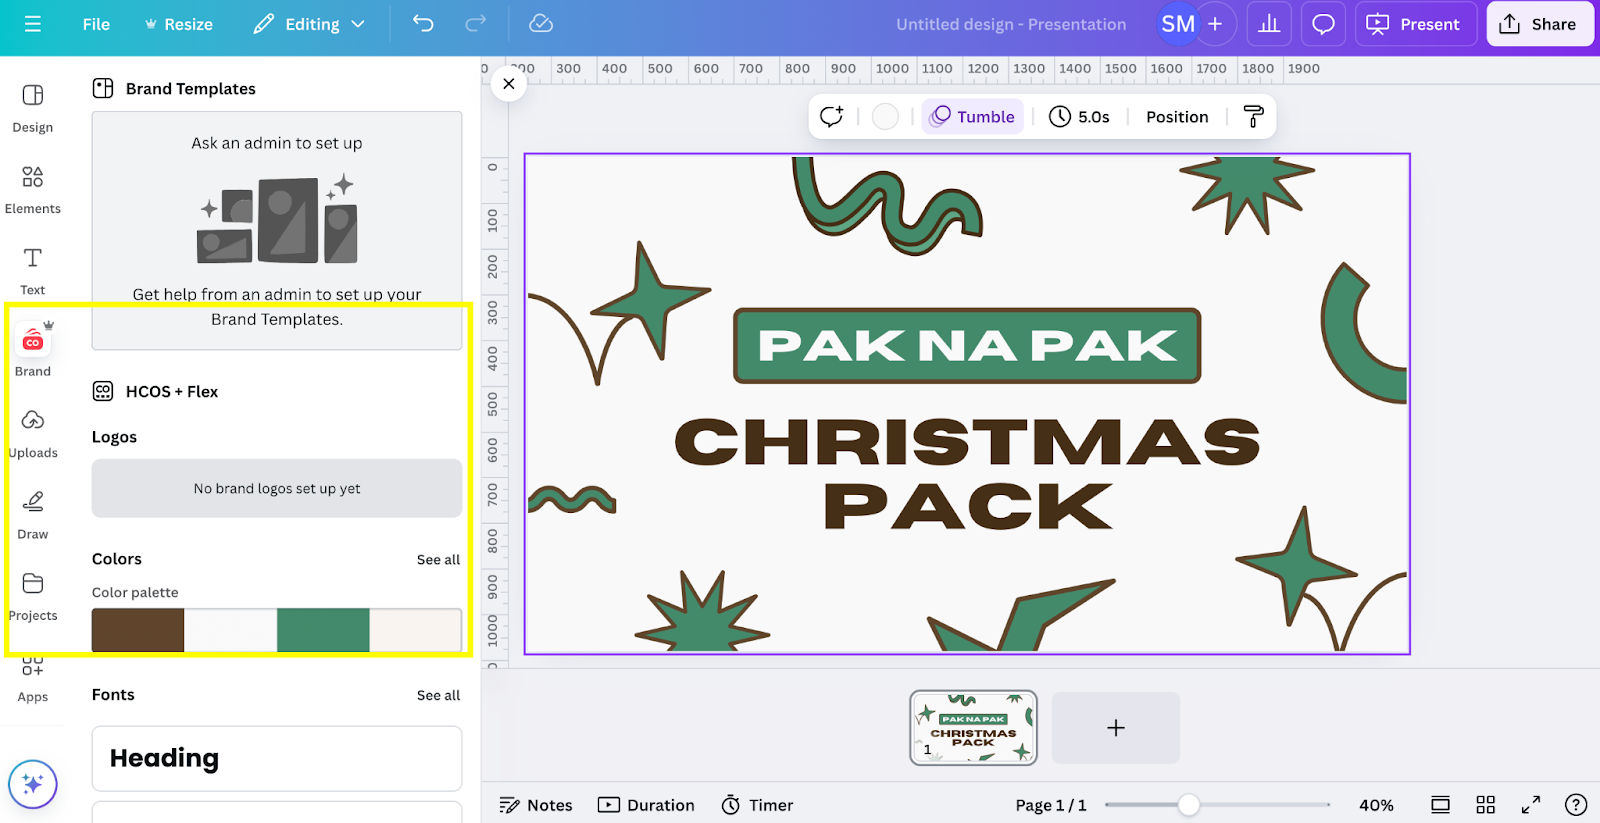
Customize your design by adding or removing images, text boxes, and videos. For more engaging content, include hyperlinks, embed videos, or links to Google Drive apps. Use the “Brand” tab to use HCOS or Flex colours as your design colour scheme.
Try some of the AI features to support your design work. Magic Media, DALL-E, or Sketch to Life are image creation tools, and Magic Write will give suggested writing prompts.

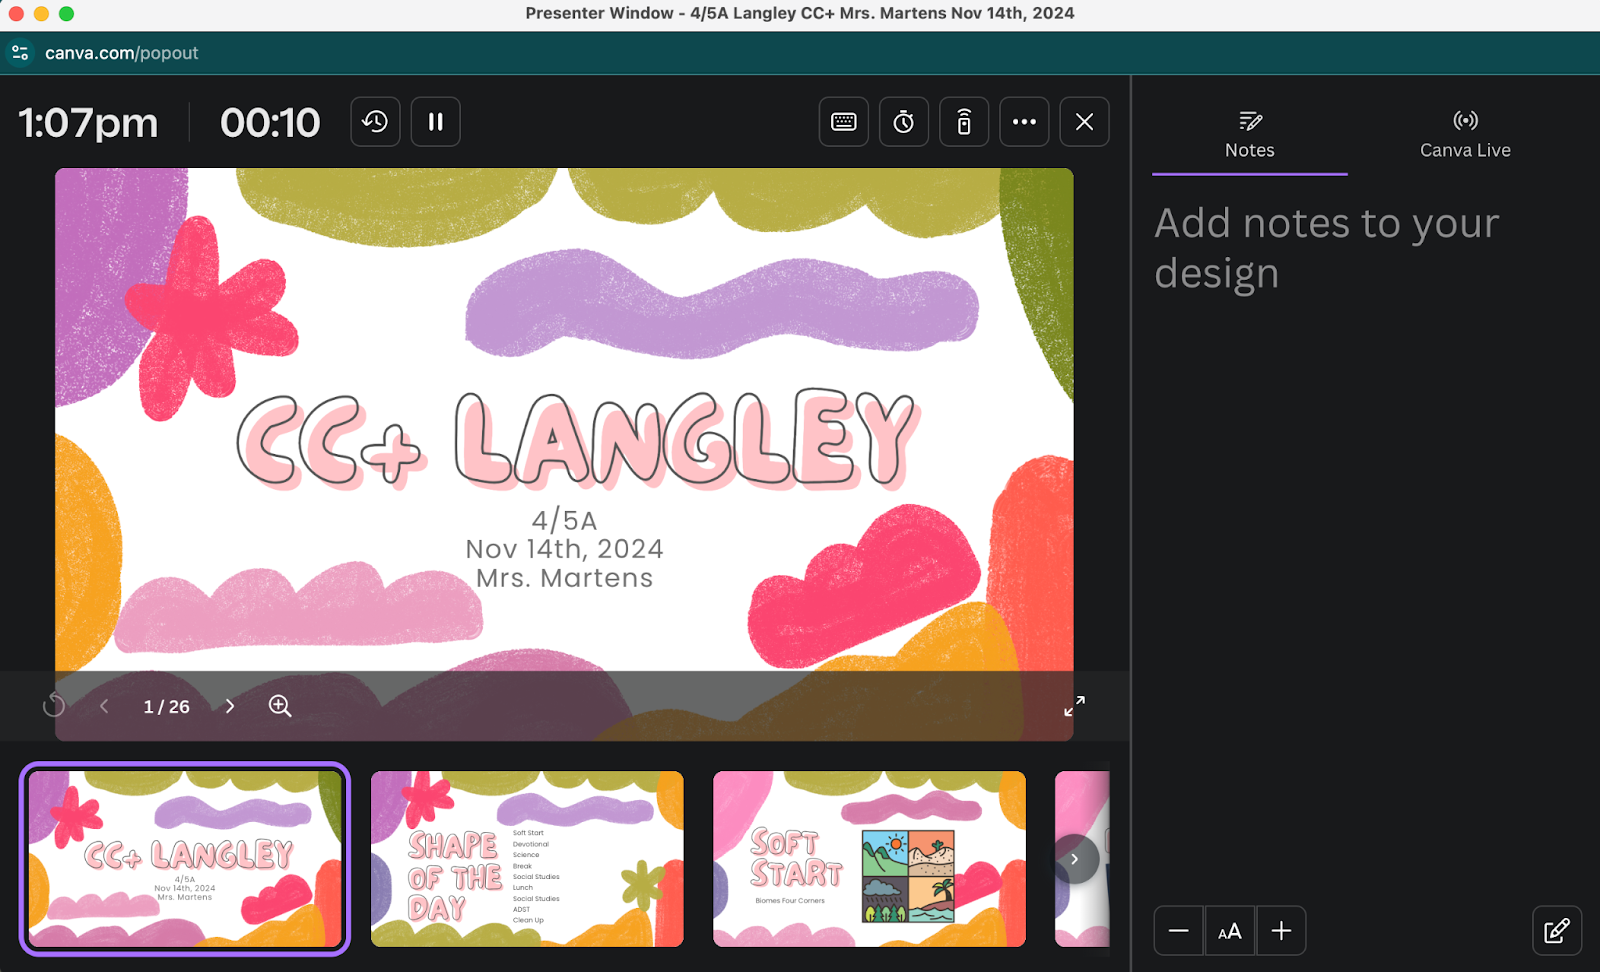
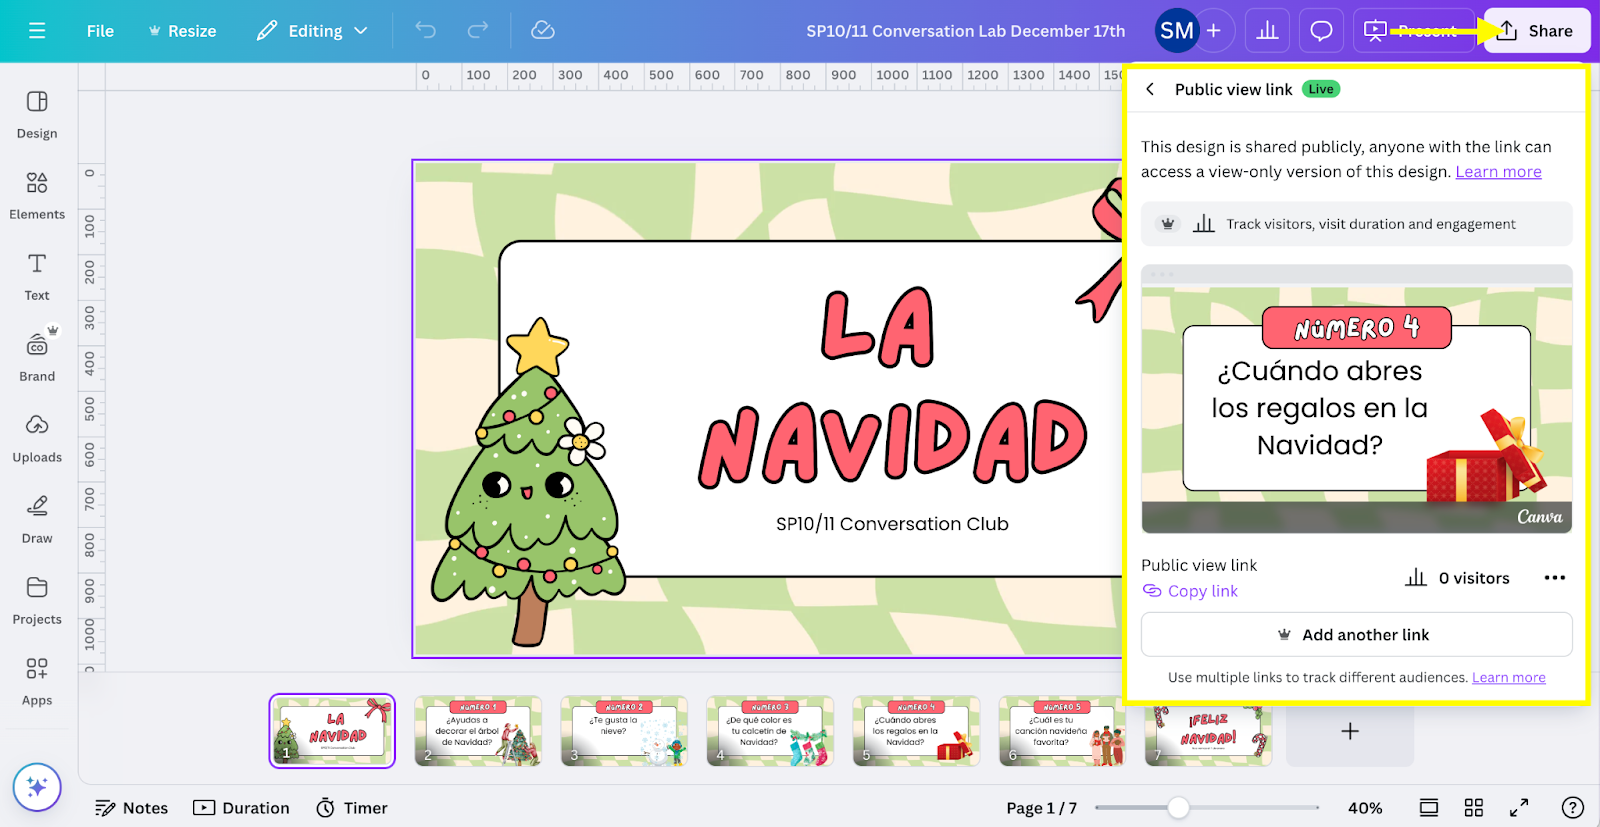
Present your slides live or on Zoom directly from Canva. Use “Presenter View” to view your slide notes, preview upcoming slides, and track your presentation time. You may also wish to use the “Record Your Presentation” feature.
Download your slides in a variety of formats (e.g., PDF, JPEG), or share a public view link for others to access. No sign-in is required to view a public Canva link.
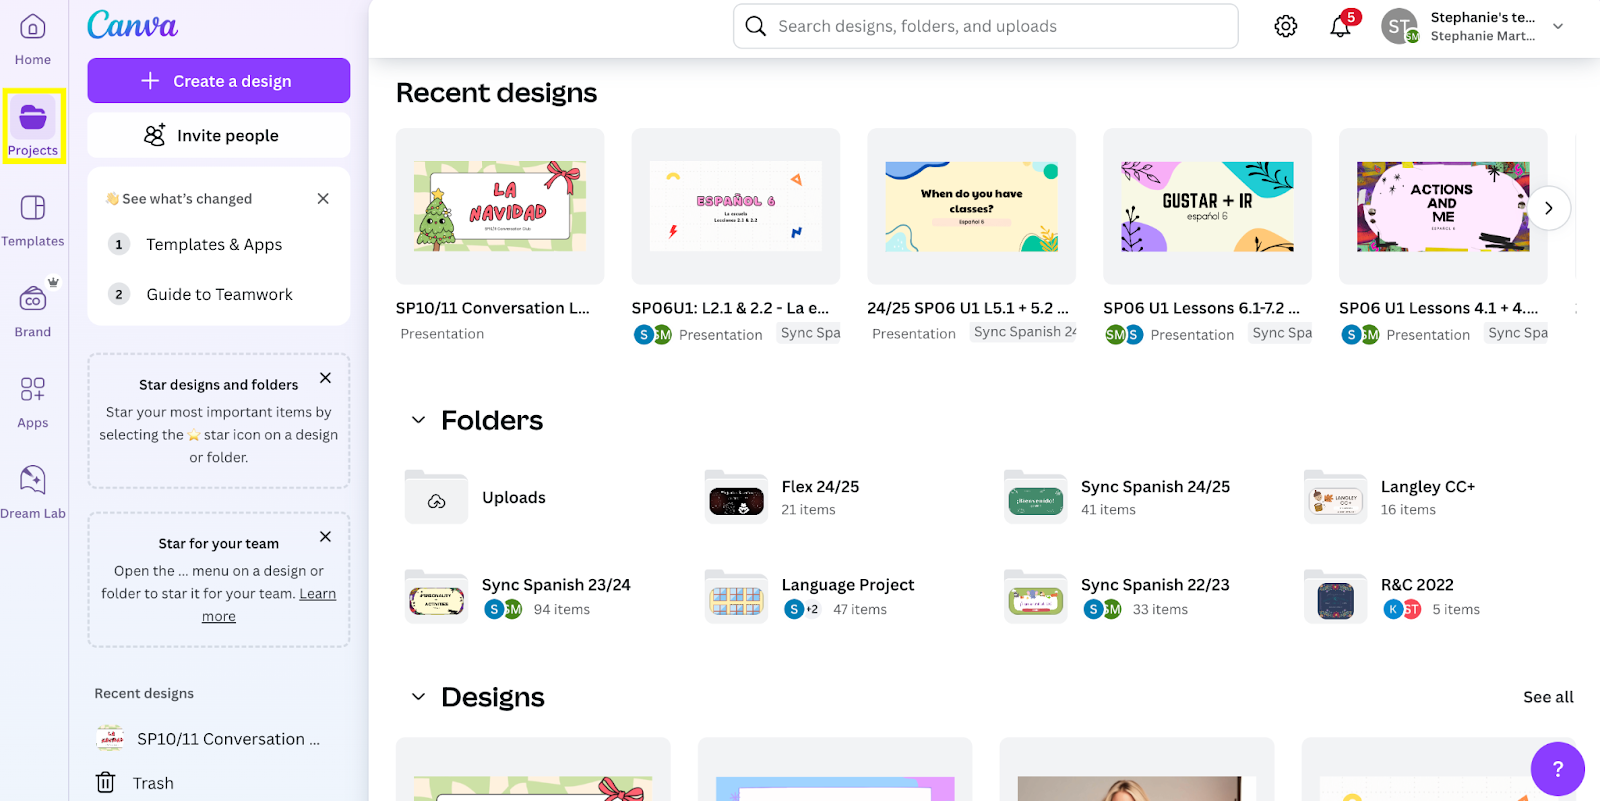
Consider organizing your designs in folders under the “Projects” tab for easy access.
Encom: Claiming a Google Account
- Log in to your parent account and select the Student you are trying to add to the account:
- Select “Claim Google Account”
- Enter the student's Google account email address, then select “begin verification”:
- A verification email will be sent to the student's Google email:
- Once you find the email, select “Claim this address”.
- Complete


If you are having difficulty completing the process, please contact tickets@onlineschool.ca for assistance.