Moodle
This book is a resource for parents and students in online courses. It is tools, tips and instructions on how to access and be successful in your online course.
(Moodle is still here for 2023, for students who are finishing old courses; otherwise, we have transitioned to Brightspace).
- Moodle: Forums
- Moodle: Logging In
- Moodle: Messaging
- Moodle: Self-Pacing Guide
- Moodle: The Course Homepage
- Moodle: The Dashboard
- Moodle: Submitting Work
- Parent Moodle Access
- Student Brightspace Access
- Viewing Student Moodle Progress
Moodle: Forums
The following video aims to answer the question:
How does a student use the Moodle Forums?
Moodle: Logging In
The following video aims to answer the question:
How do I, a student at HCOS or BCOS, log into Moodle?
The link in the video about setting up your student account for HCOS students in Encom is available here .
To summarize for HCOS Students:
- Go to onlineschool.ca
- Click the Log In Button on the top right of the homepage
- Select Moodle Courses
- Parents are required to set up their students account in Encom using the information here.
- Log in!
To summarize for BCOS Students:
- Your login information is sent in your Welcome Letter from the BCOS office.
- Either click the link in the email or,
- Navigate to onlineschool.ca
- Click the Log In button on the top right of the homepage
- Select Moodle Courses
- Log in!
Moodle: Messaging
The following video aims to answer the question:
How do you use the collaboration tools in Moodle?
Moodle: Self-Pacing Guide
The following video aims to answer the question:
How does a student use the self-pacing guide?
Moodle: The Course Homepage
The video below aims to answer the question:
What are the features of the course homepage?
Moodle: The Dashboard
The following video aims to answer the question:
How do you navigate the Moodle Dashboard?
Moodle: Submitting Work
Below are the steps students will need to work through in order to create digital files of their work and upload those to the Moodle hand in (submission) boxes.
Step 1: Generate an electronic copy of your work.
- If you’ve completed your work digitally, you should just be able to upload the file (word, pages, pdf, etc) directly to the hand in box (see instructions for Step 2 below). Make sure you know where your file is saved and what it is named for step 2.
- If you’ve completed your work on paper, you will need to generate a digital copy using either a scanner/scanning app, or photos using a digital camera. Name your file and be sure you know where it is stored on your device before moving on to step 2 below.
-
- There are free apps available, such as CamScanner and GeniusScan, that allow you to photograph/scan single or multiple pages and save as a PDF. This is highly recommended for multi-page assignments as the file sizes tend to be smaller and present fewer issues with file sizes.
- If you don't have a scanner or scanner app, a camera, such as one on a cell phone or tablet, can provide good results. However, photos tend to be large files and can be problematic when uploading.
- When taking photos or scanning your work, please use the following hints:
-
- Find somewhere with good lighting
- Line your camera up straight with the assignment
- Zoom/move in or out until you capture the whole page, with as little extra as possible
- If photographing a multi-page assignment, take a separate picture for each page
- You should be able to set your camera to the lowest quality settings and still get fine results
- You will probably need to scale down (smaller size, less resolution) your pictures on the computer before submitting or the file size may be too large to submit.
-
-
- If you have an assignment that isn’t a traditional digital document or a paper document, please see the options at the end of this page for creating other file formats that can be submitted in Moodle (large image files, audio, powerpoint, video, links to cloud storage such as Google Drive or Dropbox, etc).
Step 2: Upload your work to the Moodle hand in box.
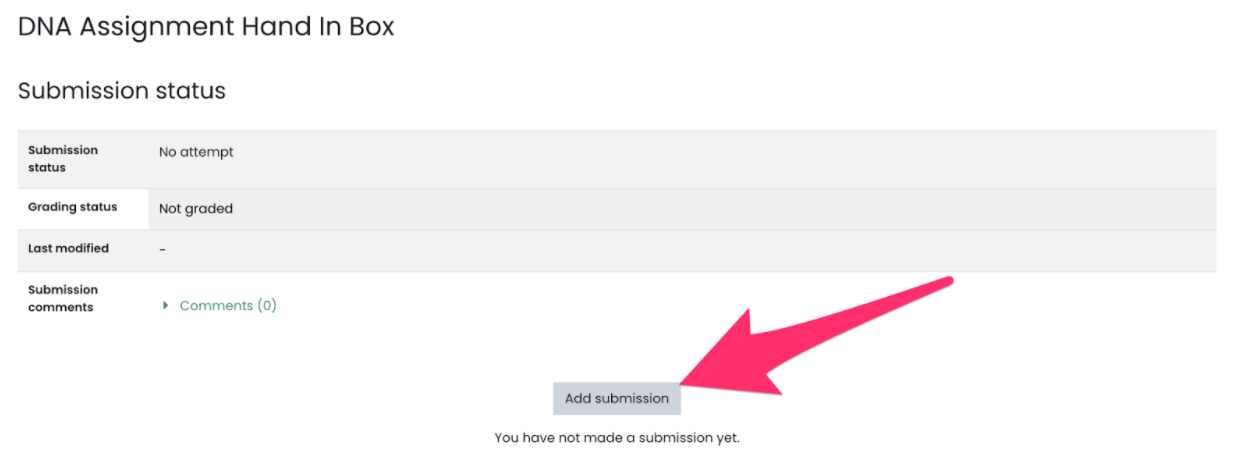
- When you are ready to submit your digital file containing your assignment, locate the appropriate hand-in box in your Moodle course shell. It will have a hand holding a page icon like the one you see below, and should be titled with something related to the assignment you’ve completed.

- Click on the green text to open up the submission box. Once you open up the submission window you will then need to click on the ‘add submission’ button.

- Once there, you have two options for uploading your digital work files.
- Option A: Drag and drop your file. You can directly drag and drop the icon for your saved work from your computer into the hand in box.

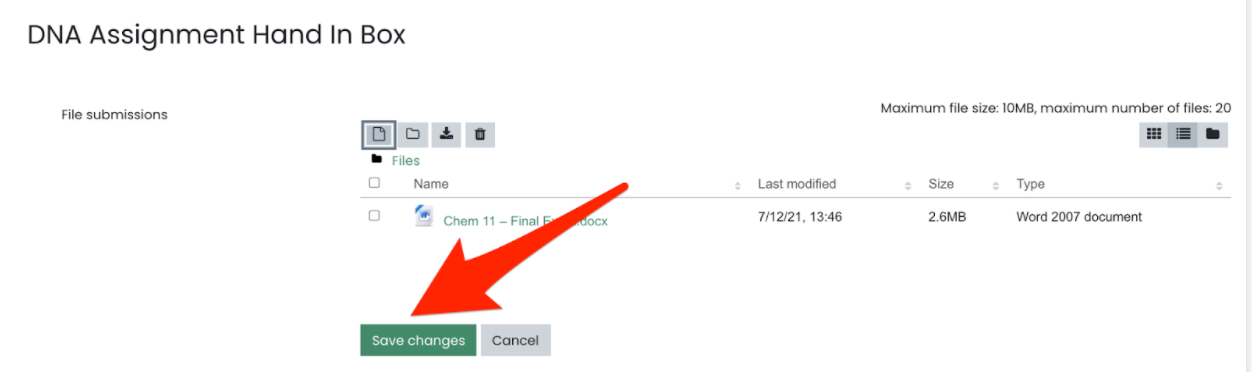
Simply click and hold the mouse down on your file and drag it over to where you see the blue arrow circled above. Release the mouse and the file should now appear in the window (see the example below by the green arrow). 
Click ‘save changes’ and you have successfully uploaded your work!
- Option B: Upload directly from your device. Click the first icon (piece of paper the blue arrow is pointing to).

Next, click ‘choose file’ (see image below) and find the file you want to submit then click to confirm or select the file you want to upload. Click Upload this file to complete the upload.

Don’t forget to click ‘Save changes’ and you’ve successfully uploaded your work!
At this point you have submitted your work and your course teacher will receive an email alerting them to your submitted work. Watch your email over the next few days for a notification that your work has been marked and your feedback is available to view.
What File Types Can I Use for Assignments?
Moodle has a maximum file size limit of 5MB. If you can compress your large files to be under that limit you will be able to upload them to Moodle. If you are unable to create file sizes less than 5MB please contact your course teacher to make other arrangements for submitting work.
Text Files
Many assignments require you to complete then hand-in a text file. Please save your file as a Word document or PDF, so that your teacher will be able to open it.
Image Files
If you need to hand in an image, for example a screenshot or screenclip, please save the file as a png, jpeg, or pdf.
Slideshow Files
If you create a slideshow, please save and submit it as a Powerpoint, or pptx, type file.
Audio Files
You may be asked to record an audio file for some assignments. There are many ways you can do this:
- Most computers have a voice recorder. You may find this by searching the term, “recorder.”
- Use an app on a smartphone or tablet then email the file to yourself.
Save the file as a wma or mp3 to hand in through Moodle. Maximum file size is usually 5 MB.
Video Files
You may be asked to record a video for some assignments. There are many different ways to do this as well:
Your device may come with a pre-installed app such as iMovie on Macs
You can download many different video recording apps such as Jing, Bandicam, Movavi, or OBS. Just make sure you select the correct version for your operating system.
You can use the video function on your smartphone or tablet camera.
Save the file as an mp4. Video files will often be too large to hand in directly through Moodle, so you may need to use a cloud storage site such as Dropbox or Google Drive to store the video then share the link with your teacher. If this is the case, there will be a text box available on your assignment for you to copy and paste the link into. Check that your sharing settings allow your teacher to open it.
Shared Drives (Google Drive, Dropbox, etc)
You may choose to save your work in a shared drive or cloud storage. If this is the case, there will be a text box available on your assignment for you to copy and paste the link into. Check that your sharing settings allow your teacher to open it.
Other
Some assignments may allow the option of creating something on a website. For example, an animated video on Powtoon, presentation on Prezi or Sway, or a storyboard on Storyboard. Usually you can share this with your teacher by providing a link, and you should copy and paste the link in the text box provided on the assignment.
Parent Moodle Access
We know tracking student progress through online courses can sometimes be difficult so we have created a way for parents to login to Moodle to view the course, see their progress in each course and a better sense overall of how their education program is progressing. In Moodle you will be able to view the grades, feedback and progress for your students in all their courses.
Access
Access is tied to your parent account in Encom. You can login to https://lms.onlineschool.ca using the same login and password as Encom.
Viewing the Information
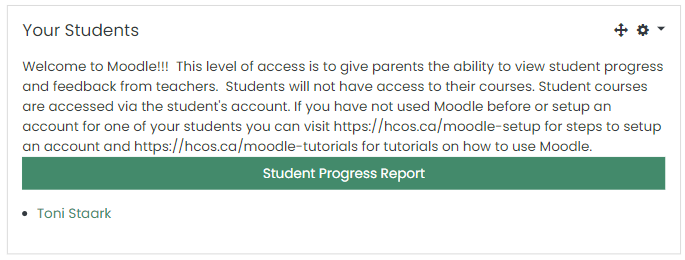
Once logged in you will see a list of your students and a brief description.
Clicking the Student Progress Report button will open a page with a table showing all your students and the courses they are in.

On this page you can view the progress and grade for your students. For a more in-depth look you can use the following icons to:
|
|
View an activity log showing dates when work was submitted, grades were returned, etc. |
|
|
View a breakdown of grades and feedback comprising the overall grade. |


Student Brightspace Access
Brightspace is a required part of any online or hybrid course. In addition, some individualized teachers use Brightspace as a way to track submissions and documents. The instructions below will walk you through setting up your student's Brightspace account for the first time and how to login to Brightspace. You can also watch this short tutorial video:
Setting Up A Student Account
If this is the first time your student has taken a Brightspace course please follow the steps below to create a password for them.
Login to your Parent account in Encom and click on the Student's Account button. |
|
If you do not see Student's Account you can access your student's profile by clicking Student Lists (1) in the upper menu and select Upcoming Students (2) on the left |
|
|
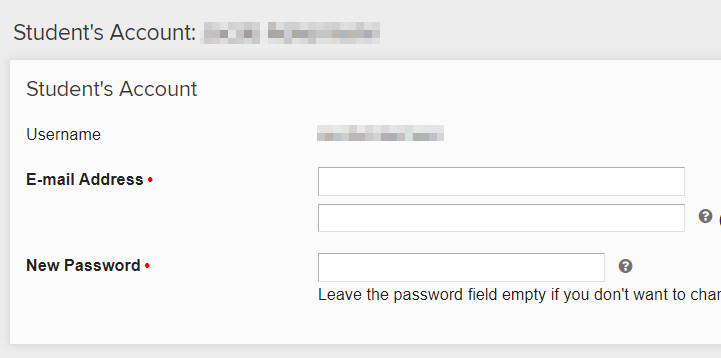
On the Student Account page you will find your student's You can also specify the email address that grading notification and emails from the teacher should be sent to. |
|
You can also check which courses you are enrolled in within Brightspace by clicking the blue LMS Diagnostics button. This page only shows the courses your student is enrolled/completed through Brightspace. All courses can be seen on the student's course list page. |
|


Accessing Brightspace
| Navigate to HCOS' Homepage. In the top right you will see an @HCOS section. Click there. |  |
| Scroll down to the Quick Access section. Click on Login under Brightspace. | 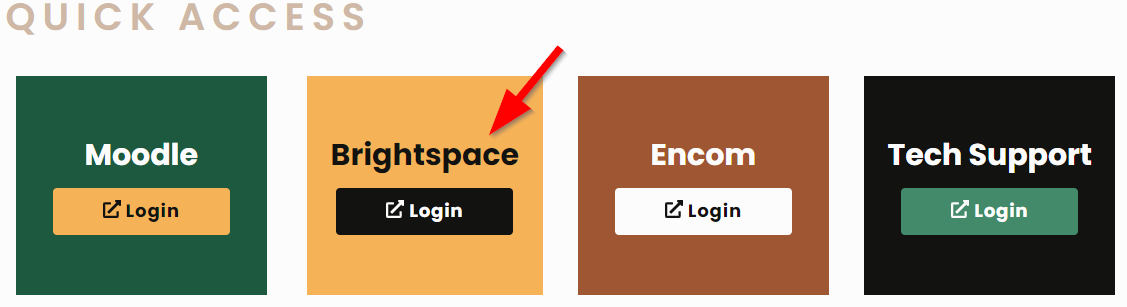 |
|
Once here, we suggest bookmarking the login page for future access. If it's your first time logging into Brightspace you will be required to complete the online orientation. This is a short module of information for all users about the software and procedures required to complete an online course. Once the orientation is completed, your courses will show on the Brightspace homepage. |
|

Viewing Student Moodle Progress
Viewing Student Moodle Progress
Rationale
Moodle holds a wealth of information to empower parents to be active participants in their students' educational journey. In order to facilitate access to this information we have made it possible for parents to access the following information in Moodle:
- Course progress based on the pacing guide setup by the student, based on the teacher’s suggested pacing.
- Full grade and feedback review for marked assignments (some quizzes currently do not reflect the feedback. We are working on getting this added).
- An outline of a student’s activity in the course (submitted, accessed etc.)
Access
Access is tied to the parent's Encom account. Using the same login and password as you would to log into Encom, you are able to access Moodle via https://lms.onlineschool.ca. If you are not sure of your login please contact tickets@onlineschool.ca and one of our support team members will help you access your account
Process
Once logged in a parent will see the following:
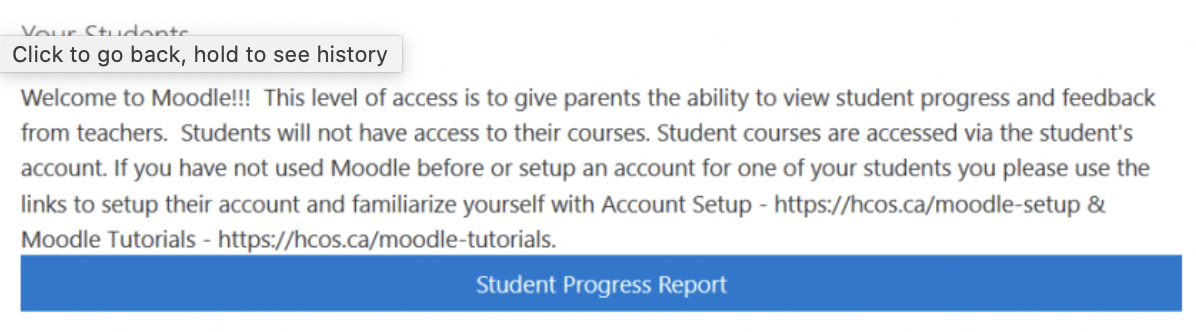
Clicking the Student Progress Report button will open a page with a table showing all your students and the courses they are in.